


Alvar 61″ Oak 6-Drawer Chest(Set of 2)


Alvar Arched 61" Oak Sideboard with Drawers(Set of 2)

Alvar Arched 91″ Oak Modular Media Console(Set of 3)

Charlie Sintered Stone Nightstand 26" W


Ethereal Crystal Radiance Round Chandelier 30"D


Ewan 63" Oak Slatted Sideboard Buffet Cabinet

Ewan Sintered Stone Nightstand 26"W

Holt 63″ Solid Oak Console(Set of 2)

Holt 95″ Solid Oak Console(Set of 3)

Moira Alabaster Round Chandelier 24"D

Moira Alabaster Round Chandelier 32"D

Silas Extendable TV Stand 80" to 110"

Stellara Crystal Strip Round Chandelier 24"D

Sylvia Palladian Alabaster Wall Sconce 20"H

Alvar Arched 91″ Oak Media Console(Set of 3)

Ewan Oak Extendable Media Console 79" to 110"

Holt 126″ Solid Oak Console(Set of 4)

FSC FCOC47059 . FSC is dedicated to the promotion of responsible forest management
worldwide. By selecting this product, you help take care of the woorld's forests

UL-certified for indoor drying environments not directly exposed to excessive moisture or water;
Use in the United States and Canada.

Certified to Dry ETL electrical standard: suitable for use indoors in dry locations not directly exposed to excessive moisture and water
Use in the United States

CE-certified drying equipment compliant with electrical standards: Suitable for indoor drying environments not directly exposed to excessive moisture or water;
Tested for use in Europe, the UK, and other regions.


The support center has answers to questions you may have. You can also contact customer service in the support center if you can't find what you're looking for.
Support Center >
At houlte, we are committed to delivering quality, style, and great value to our customers. Our goal is to simplify your shopping experience by providing competitive prices and exceptional service.

If an item you purchased from houlte goes on sale on our website within 30 days of your purchase date, you may request a price match. This policy ensures you always receive the best value when shopping with us.
Houlte reserves the right to interpret and adjust the terms of the Price Match Policy as necessary.
Houlte has partnered with Taskrabbit to make your everyday life at home easier by connecting you with flexible and affordable ways to get your to-do’s done including furniture assembly and mounting.

1. Purchase your furniture at Houlte.
2. Check your order Dispatched and Delivered email and click the
Houlte link. You will be redirected to Taskrabbit's landing page.
3. Post your task on Taskrabbit platform.
4. Pick the best tasker to assemble your furniture.
Houlte has partnered with Taskrabbit to make your everyday life at home easier by connecting you with flexible and affordable ways to get your to-do’s done including furniture assembly and mounting.
Taskrabbit Assembly is available in most metro areas in the US. The availability of Taskers varies based on demand. When placing an order on Taskrabbit, you will need to enter your zip code. If the service is not supported in your area, you will not be able to place an order.
You can book assembly for your Houlte furniture as early as the next day after your delivery, and up to 14 days in advance, giving you flexibility to choose a time that works best for you.

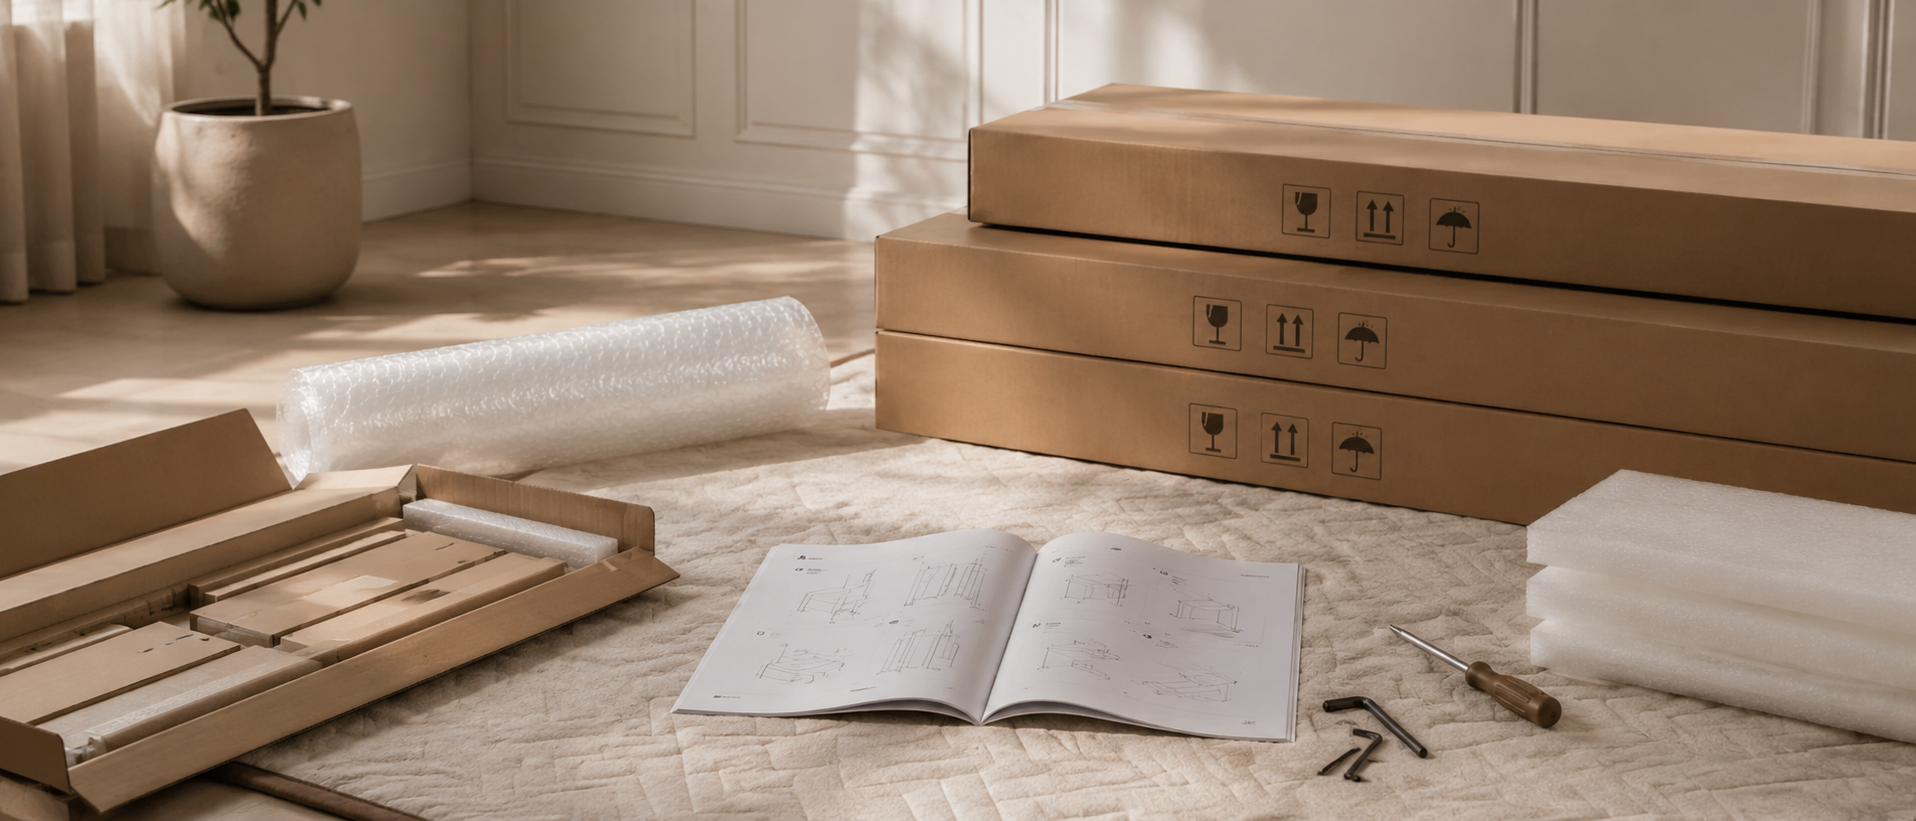
Ready to use out of the box; minimal installation may be required (e.g., handles).

Main structure is pre-built; minor components require attachment (e.g., legs).

Assembly required; multiple parts must be assembled before use.
Our furniture is built with a combination of core boards, real wood veneers, and selected solid wood parts. Each material is used for a different purpose—structure, surface appearance, or visible strength—so the final piece feels balanced in performance, finish, and cost.
Core boards form the internal foundation of the furniture. They provide structure, stability, and efficiency across large surfaces and cabinet bodies.

Stable structural board

Smooth and consistent

Functional internal board
Selected solid wood parts are used where visible strength, tactile quality, and structural integrity matter most—such as legs, frames, trim, and exposed support details.

Durable and classic

Light and versatile

Premium and elevated
Kitchen renovations can change your home for the better. But, professional cabinet installation can cost a lot. Many people feel scared to try it themselves.
But, you can save money and control the process by doing it yourself. Professional installers use special methods for perfect results. You can learn these methods too.

This guide will show you how to install cabinets step by step. You'll learn about the tools you need and how to measure and adjust. It's all about breaking it down into easy parts.
Whether you're updating your kitchen or adding more storage, DIY cabinet hanging is a great skill. This guide makes it easy to follow professional steps. With some patience and care, you can get amazing results, just like a pro.
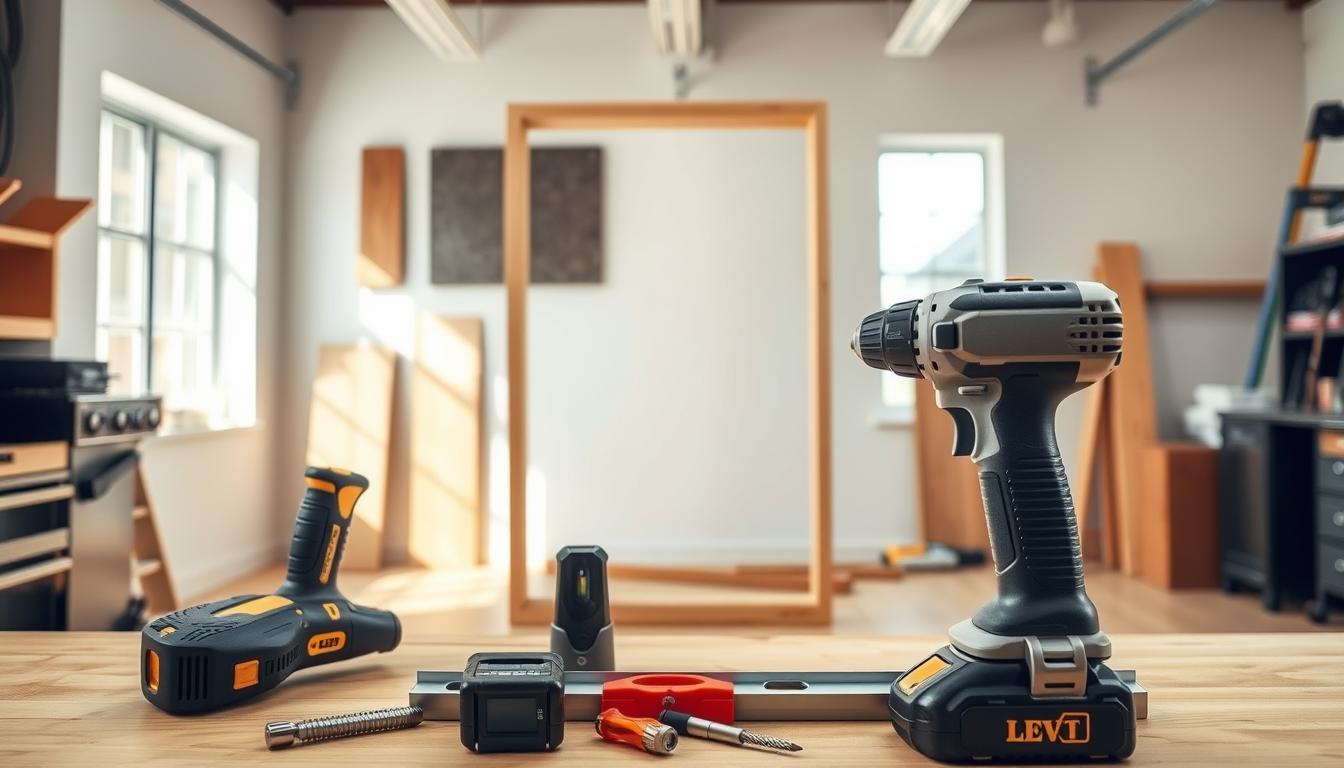
Having the right tools before starting your cabinet project saves time and prevents mistakes. Professional cabinet installation needs specific tools and materials. This ensures your cabinets are secure, level, and properly aligned. It also saves you from making trips to the hardware store during the project.
Quality installation tools make a big difference. They help with accurate measurements, secure fastening, and professional-looking results. These results will last for years.
Every cabinet installation starts with essential tools for precision and efficiency. A reliable stud finder is key for finding wall framing for secure mounting. Digital models with deep scan capabilities are best for finding studs behind thick drywall or plaster.
Measuring tools are crucial for accurate installation. You'll need a 25-foot tape measure, a 4-foot level, and a laser level for long runs. These tools help create straight reference lines and ensure cabinets align properly.
Power tools speed up the installation process. A cordless drill with multiple bits handles most fastening tasks. A circular saw or miter saw cuts filler strips and trim pieces to exact dimensions. An oscillating multi-tool removes drywall sections and makes precise cuts around obstacles.
Proper mounting hardware ensures your cabinets stay securely attached to the wall for decades. Cabinet screws come in various lengths and thread types for different applications. Use 2.5-inch cabinet screws for attaching to wall studs and shorter screws for connecting cabinet boxes together.
Wall anchors provide additional support in areas without studs. Toggle bolts work well for hollow walls, while concrete anchors secure cabinets to masonry surfaces. Choose anchors rated for at least twice the expected load.
Mounting hardware varies by cabinet type and manufacturer. Most cabinets use hanging rails or French cleat systems for upper units. Base cabinets typically require L-brackets and shims for proper leveling and support.
Safety equipment protects you and your cabinets during installation. Safety glasses prevent eye injuries from wood chips and metal shavings. Work gloves provide better grip and protect hands from sharp edges and splinters.
Dust masks are essential when cutting or drilling creates airborne particles. A basic N95 mask filters most construction dust effectively. Knee pads reduce fatigue and prevent injury when working at floor level for extended periods.
Proper lifting equipment prevents back injuries and cabinet damage. A cabinet lift or helper makes hanging upper units safer and easier. Moving dollies help transport heavy base cabinets without strain or scratches.
Success in cabinet installation starts before you pick up your first tool. Good preparation makes all the difference. It keeps your cabinets secure for years.
First, understand your workspace. Know what's behind your walls and how much weight they can hold. This helps you choose the right hardware and mounting methods.
Different walls need different mounting methods. Drywall over wood studs is the strongest when mounted right. Metal studs need special fasteners.
Find out what your walls are made of. Tap the wall to check for hollow or solid sounds. Hollow sounds mean you've found a stud.
Also, check for wires and pipes behind your walls. Use a wire detector before drilling. Mark these spots to avoid accidents.
Cabinet weight puts stress on your walls. Upper cabinets can weigh over 100 pounds. Your walls must handle this weight plus the stress from opening doors.
Calculate your cabinets' total weight. Include everything inside. Spread this weight across multiple studs for stability.
For professional results, hit at least two studs per cabinet. This prevents sagging. Don't rely on drywall anchors for heavy cabinets.
Rushing can cause problems and safety issues. Plan enough time for each step. Most DIY kitchen installations take 2-3 days.
Day one is for preparation and layout. Find studs, mark lines, and set up your space. Good prep work avoids later issues.
Day two is for hanging cabinets. Start with the top and work down. Leave time for adjustments.
Day three is for finishing and checks. Install doors, adjust hinges, and test everything. Paying attention to these details ensures quality.
Learning the cabinet hanging process makes a tough home improvement task easier. Experts follow a set of steps to ensure the cabinets look good and are safe. This method saves time and keeps the quality high.
The cabinet installation process has many steps that build on each other. Each step needs careful attention and proper doing. Rushing or skipping steps can lead to mistakes and safety risks.
Cabinet installation starts with planning and ends with fine-tuning. Knowing this order helps homeowners feel more confident in their home improvement projects.
The process begins with upper cabinets and moves down. This way, lower cabinets are not damaged. Pros always put up wall cabinets first to keep the area open.
Each step of the installation has its own needs and challenges. Doing things in the right order helps each step support the next. Here's a table showing the main phases and what they aim to do:
| Installation Phase | Primary Objective | Key Activities | Time Required |
|---|---|---|---|
| Preparation | Establish foundation | Measure walls, locate studs, mark reference lines | 2-3 hours |
| Rail Installation | Create mounting system | Install ledger boards, secure mounting rails | 1-2 hours |
| Upper Cabinet Mounting | Secure wall units | Hang cabinets, align, connect adjacent units | 3-4 hours |
| Base Cabinet Installation | Position floor units | Level cabinets, secure to walls, join units | 4-5 hours |
| Final Adjustments | Perfect alignment | Adjust doors, check gaps, fine-tune level | 1-2 hours |
Installation safety is the most important thing from start to finish. Cabinet installation involves heavy lifting, power tools, and working at heights. Following safety rules protects everyone involved.
Wearing the right gear is key to installation safety. Safety glasses protect your eyes from debris. Work gloves help you grip and protect your hands from cuts and splinters.
When lifting heavy cabinets, use your legs, not your back. This prevents injuries. For cabinets over 50 pounds, have someone help you to keep control and avoid strain.
Working near outlets and switches requires extra caution. Always turn off power to the affected circuits before drilling or cutting. Use a voltage tester to make sure the circuits are off before you start.
To avoid falls, use stable ladders and don't overreach. Make sure ladders are on level ground and you have three points of contact. Never lean too far to the side while working at heights.
A well-organized workspace makes installation faster and less error-prone. Setting up different zones for each phase helps. This saves time looking for tools and materials.
Keep your tools organized so you can find what you need quickly. Have a central tool station with measuring tools, levels, and markers. Make sure your power tools are charged and ready to go throughout the project.
Plan how you'll store materials to avoid damage and improve workflow. Keep cabinet boxes in a clean, dry area away from foot traffic. Remove packaging right away to prevent tripping hazards and keep the area clean.
The area for preparing cabinets should have enough space for tasks like removing doors and installing hardware. Make sure it's well-lit and has good ventilation for detailed work.
Keep walkways clear of tools and materials to ensure installation safety. Have designated paths that avoid the work area to prevent accidents and interruptions.
Finding the right spots on your walls is key. It's what makes your wall mounting project a success. Experts say it's all about finding studs right to avoid mistakes and keep your cabinets stable.
The process has three main steps: finding studs, marking them, and checking your work. Each step is important to make sure your cabinet goes up right. Missing any step can ruin your project.
There are three types of stud finders: edge, center, and deep-scan. Edge finders spot stud edges, center finders find the stud's middle, and deep-scan finders work through thick walls.
First, calibrate your stud finder on a wall without studs. This is a must for most electronic models. Hold it flat against the wall and press the calibration button until it beeps or shows it's ready.
Slowly move the finder across the wall in a straight line. Mark both edges of each stud you find. Experts scan from different angles to make sure they're right. This helps avoid mistakes.

Lightly mark stud edges with a pencil. Don't use permanent markers that might show through paint. Use small tick marks instead of big X's to avoid getting in the way of your cabinet.
Measure 16 or 24 inches from your first stud to find more. Most homes follow these patterns. Mark the stud's center with a vertical line using a level.
Mark above and below where you'll put your cabinet. This helps guide you during the mounting process. For big projects, mark studs from floor to ceiling.
Check your marks by driving a small finish nail through the drywall. If it goes in easily, you've missed the stud. It should hit solid wood and need some force to go through.
Test different points on each stud. Drive nails at different heights to make sure you've found the right spot. Remove the nails carefully to avoid damaging the wall.
Double-check your measurements between studs. Most walls have studs spaced the same way. If they're not, it might mean there's plumbing, electrical work, or other changes that affect your plans.
Use a magnetic stud finder as a backup. These find metal nails or screws in wooden studs. They're great for older homes where electronic finders might not work well.
Creating precise reference lines is key to aligning your kitchen cabinets perfectly. These lines act as a roadmap for your project. They help avoid costly mistakes that can delay your work.
Professional installers know that accurate layout lines are crucial. They guide every measurement and mounting decision. This step is essential and should not be rushed.
Floors often have slight variations that affect cabinet installation. Finding the highest point is vital to avoid gaps under base cabinets. Start by placing a long level across different sections of your floor.
Mark any low spots you find. These areas will need shims for proper alignment. Use a water level or laser level for longer rooms.
Record the highest point measurement on your wall. This is your baseline for all cabinet positions. Every other measurement relates back to this critical reference point.
Chalk lines provide visible guides for your installation. Snap a horizontal line at your desired upper cabinet height. Measure down from the ceiling for consistency.
Draw a second line for your base cabinet tops. This line is 36 inches above your floor's high point. Use a laser level to extend these lines around corners and adjacent walls.
Mark vertical lines at each stud location. These intersections show where your mounting hardware will attach. Double-check that all lines remain perfectly level using your longest spirit level.
Verification is key to preventing expensive errors. Measure the distance between your reference lines at multiple points. Any variations indicate problems with your initial layout.
Confirm that your kitchen cabinets will fit within the marked boundaries. Check clearances around appliances, windows, and doorways. Verify that cabinet doors will open without hitting obstacles.
Test your stud locations one final time using your stud finder. Mark any questionable areas for additional investigation. Spending extra time on verification saves hours of correction work later.
Create a simple sketch showing all your reference lines and measurements. This drawing becomes your installation blueprint. Keep it handy throughout the mounting process for quick reference checks.
Cabinet mounting rails make wall mounting easy. They create a strong base for your cabinets. The rails spread the weight evenly and hold your cabinets securely.
Installers use precise measurements and the right fasteners. The rails must hold the cabinet and its contents. Installing them correctly avoids future issues and ensures durability.
The ledger board is your main support rail. Place it along your marked line. It should be perfectly level and match the upper cabinets' bottom edge.
Mark the board's spot using level lines. Remember to account for the cabinet's back panel. Most need the board 3/4 inch below the bottom for the back panel.
Use clamps or a helper to hold the board in place. Double-check it's level before securing it.
Use 3-inch screws or lag bolts for strong fastening. Drill pilot holes to avoid splitting studs. This ensures screws are placed right.
Apply adhesive to the board's back before installing. This boosts holding power and fills gaps.
Stagger screws to avoid weakening studs. Place them at different heights for a stronger connection.
| Fastener Type | Length Required | Wall Penetration | Load Capacity |
|---|---|---|---|
| Construction Screws | 3 inches | 2+ inches into stud | 150 lbs per screw |
| Lag Bolts | 4 inches | 2.5+ inches into stud | 200 lbs per bolt |
| Cabinet Screws | 2.5 inches | 1.5+ inches into stud | 100 lbs per screw |
| Toggle Bolts | 3 inches | Through drywall only | 75 lbs per bolt |
Load testing checks if the rail can hold the cabinet's weight. Apply pressure like a full cabinet. Most upper cabinets weigh 80-120 pounds when full.
Look for any movement or sounds during the test. A good rail system won't move under normal loads. Any weakness needs fixing before installing cabinets.
Check fasteners after testing. Loose screws mean they didn't go in far enough. Tighten any loose ones with longer fasteners or brackets.
Test the rail at different points. Focus on areas between studs, where it spans open space. These spots need strong fastening to avoid sagging.
Getting your cabinets ready for wall mounting needs careful attention. It's a crucial step to avoid costly mistakes. Professional installers say proper preparation is key to a successful project.
The preparation process has three essential steps. Each step helps ensure safe and efficient installation. These steps protect your investment and reduce installation challenges.
"Proper preparation prevents poor performance. Taking time to prepare your cabinets correctly will save you hours of frustration during installation."
Start by removing all cabinet doors and drawer fronts. This makes the cabinets lighter and safer to handle. Label each door and drawer with masking tape to remember their original positions.
Store the removed components in a safe place. Use blankets or cardboard to protect surfaces from damage. Keep all parts organized in labeled containers for easy reassembly later.
Removing these components gives better access to the cabinet interior. This access is key for installing mounting hardware and making adjustments during installation.
Choose the right mounting hardware for your cabinets and walls. Most cabinets need heavy-duty brackets or hanging rails. The hardware must fit both your cabinet frames and the wall mounting system.
Place mounting brackets 2-3 inches from the top of the cabinet back. Use a level to ensure they're aligned across multiple cabinets. Proper alignment prevents stress points that could cause cabinet failure over time.
Secure the mounting hardware with the right fasteners for your cabinet material. Hardwood frames may need different screws than particleboard. Always follow the manufacturer's torque specifications to avoid over-tightening.
Pre-drilling prevents cabinet splitting and ensures accurate fastener placement. Use drill bits slightly smaller than your screw diameter for pilot holes. This is crucial for hardwood cabinet frames.
Mark all screw locations before drilling for consistent spacing and alignment. Use a center punch to create starting points. Consistent hole placement ensures a professional appearance and structural integrity.
Clean all drill holes of debris before installing. Wood chips or dust can prevent screws from seating properly. A small brush or compressed air works well for cleaning.
Installing upper cabinets first is a smart move in any kitchen project. It gives you better access to mounting points and avoids working over base cabinets. This step also sets the layout for your kitchen.
Working from the top down helps avoid damage to lower units. You can see all wall connections and mounting hardware clearly. This method makes it easier to check measurements before placing cabinets permanently.
Proper lifting techniques are key to avoid injury and damage. Never lift heavy cabinets alone - always have a helper or use mechanical aids. Cabinet lifts and supports make the job safer and more precise.
Stand at the cabinet's center of gravity for balanced lifting. Keep your back straight and lift with your legs. Use simple commands like "lift," "hold," and "lower" to communicate with your helper.
Use temporary supports like cleats or jacks to hold units while adjusting. These tools let you focus on precise positioning and fastening. Professional teams use them to keep cabinets aligned during mounting.

The mounting rail system is key for your upper cabinets. Make sure each cabinet is fully on the rail before securing. Check that the back panel touches the wall fully.
Ensure the mounting hardware fits the rail system correctly. Look for gaps that mean the cabinet isn't seated right. Adjust the cabinet until it sits evenly on the rail.
Secure screws through the cabinet's rail into wall studs for strength. Use 3-inch screws for solid wood and the right fasteners for metal. Check each screw point for tightness before moving to the next cabinet.
| Cabinet Weight Range | Minimum Stud Connections | Recommended Screw Size | Safety Factor |
|---|---|---|---|
| Under 50 lbs | 2 studs | 2.5 inches | 4:1 |
| 50-100 lbs | 3 studs | 3 inches | 5:1 |
| Over 100 lbs | 4 studs | 3.5 inches | 6:1 |
| Corner Units | 3 studs minimum | 3 inches | 5:1 |
Connecting cabinets together makes your kitchen look seamless. Start by placing them close but not touching. This allows for adjustments during alignment.
Use cabinet clamps to hold units in place while connecting. These clamps prevent movement during drilling and fastening. Professional installation requires precise alignment before any permanent connections.
Aligning cabinet faces is crucial for the final look. Use a straight edge to check if all faces are in the same plane. Adjust cabinets as needed for perfect alignment.
Measure the gap between cabinet doors for consistency. Standard gaps range from 1/8 inch to 3/16 inch, depending on the door style. Use hinge adjustment screws to fine-tune door positioning after installation.
Ensure cabinet faces align both horizontally and vertically. Small adjustments now prevent major problems later. Take your time to get this step right for professional results.
Cabinet clamps keep units aligned while you install fasteners. Place clamps at the top and bottom for even pressure. Tighten clamps slowly to avoid misalignment.
Drill pilot holes to prevent splitting. Use 2.5-inch screws to connect cabinets together. Install screws every 12 inches for strength.
Check alignment one last time before tightening all fasteners. Make minor adjustments as needed. Professional cabinet installation depends on maintaining perfect alignment throughout this critical phase.
Remove clamps only after all fasteners are secure and alignment is verified. Test cabinet doors for proper operation before proceeding. This systematic approach ensures professional results that will last for years.
Installing base cabinets is different from mounting upper cabinets. They face challenges like uneven floors and need strong anchoring. Success comes from using cabinet leveling methods and professional skills.
Base cabinets are key to your kitchen's function. They must fit uneven floors and stay aligned. Experts use special techniques for perfect results.
"A level base cabinet installation is the cornerstone of a functional kitchen. Every door, drawer, and countertop depends on this critical foundation."
Floor irregularities are a big challenge for installers. Most floors have several inches of difference. To fix this, installers use adjustable legs and shims.
First, find the highest point of your floor with a long level. Mark this spot on your wall layout. This will be your guide for the installation.
Use composite shims for better stability. They resist compression and moisture. Place them at key points like corners and center supports.
Adjustable legs help control the cabinet's height. Turn them clockwise to raise or counterclockwise to lower. Make small adjustments until everything is perfectly level.
Proper anchoring is crucial for cabinet stability. They need to be fastened to both wall studs and floor structures. This ensures they stay in place over time.
When attaching to walls, aim for two inches into solid wood studs. Use 3-inch screws through the back rail into each stud. Pre-drill to avoid splitting the wood.
Floor fastening depends on your flooring and subfloor. Hardwood floors need careful drilling, while tile installations require masonry bits and anchors.
Installers often secure cabinets through the toe kick area. This method is strong and keeps the look clean. Use adhesive and mechanical fasteners for extra strength.
Connecting base cabinets needs precise alignment and strong fastening. The alignment of the face frames affects the final look. Even small mistakes will show once doors and hardware are on.
Clamp the cabinet faces together before drilling. This ensures they're aligned during fastening. Use connecting bolts for stronger joints.
Box-to-box connections add structural strength. Drill pilot holes through the cabinet sides at key points. This prevents cabinets from shifting.
Remember to plan for countertop support when connecting cabinets. Some countertops need brackets between cabinets. Plan these during the initial installation.
This home improvement step is crucial for a successful kitchen. Properly installed base cabinets last for decades with professional techniques.
The final step in cabinet installation makes your project look top-notch. It's what turns a good job into a great one. Getting the alignment and leveling right is key to a job well done.
Getting cabinets to line up perfectly takes patience and careful adjustments. Each cabinet must fit snugly next to the others. This ensures a professional look.
Shims are essential for fine-tuning cabinet alignment. Composite shims are better than wood because they don't compress over time. They keep your installation stable and secure.
Start by placing shims at the highest point of your floor. Then, work your way across the installation. Shims should go behind mounting points where there are gaps. Use thin shims for better stability.
Custom shim stacks can solve specific alignment problems. You can use different thickness shims to get the exact fit you need. Mark each shim spot to keep things consistent.
| Shim Type | Best Use | Thickness Range | Durability |
|---|---|---|---|
| Composite Plastic | Heavy-duty adjustments | 1/16" - 1/4" | Excellent |
| Cedar Wood | Light adjustments | 1/32" - 1/8" | Good |
| Steel Shims | Precision work | 0.001" - 1/16" | Excellent |
| Cardboard | Temporary positioning | 1/32" - 1/16" | Poor |
Adjusting doors can make or break the look of your cabinets. Each hinge has adjustment points for fine-tuning. Knowing how to use these can make a big difference.
Start by adjusting the vertical position of the doors. Most hinges have screws to raise or lower the door. Make small changes and check the door's movement after each adjustment.
Adjusting the horizontal position ensures even spacing between doors. Aim for consistent gaps between doors. This attention to detail is what makes an installation look professional.
Always check how doors operate during adjustments. They should open and close smoothly. Proper adjustment prevents wear and tear and ensures long-term use.
Even spacing is key to a harmonious look in your cabinets. Professionals use specific methods to check for consistency. This step is crucial for meeting professional standards.
Use a gap gauge or folded cardboard to measure door spacing. Most installations have 1/8-inch gaps. This ensures a uniform look.
Inspect drawer front alignment with the surrounding cabinet faces. Drawer fronts should align perfectly with door faces. Adjust as needed to maintain consistency.
Visual checks can reveal spacing issues that measurements might miss. Step back and look at the installation from different angles. Check for any doors or drawers that seem out of place.
Keep a record of your measurements and adjustments. This is useful for warranty claims and future maintenance. It shows the thoroughness of your alignment process.
Cabinet installation problems are common, but knowing how to solve them makes a big difference. Even with careful planning, challenges can still arise. Professional installers have ways to quickly diagnose and fix these issues.
Knowing about these problems before they happen helps keep your project safe. Most cabinet issues fit into a few categories with proven solutions. It's important to find the root cause, not just treat the symptoms.
Uneven walls are a big challenge in cabinet installation. Most walls have some irregularity that shows up when installing cabinets. Professionals have ways to handle these issues and keep cabinets aligned.
Scribing techniques help cabinets follow the wall's shape. Use a compass or scribe tool to mark the wall on the cabinet sides. Then, cut along this line for a custom fit that closes gaps.
Filler strips are another good solution for uneven walls. These strips go between cabinets and walls to cover gaps and make lines clean. Pick strips that match your cabinet's finish for a seamless look.
Sagging cabinets are a serious problem that affects both function and safety. Most sagging is caused by not enough support during installation. Finding the cause helps decide how to fix it.
Overloading is another reason cabinets sag. Check the weight limits of your cabinets and spread out the weight. Heavy items should go in lower cabinets with stronger support.
Mounting hardware failure can also cause sagging over time. Check all screws, brackets, and fasteners for looseness or damage. Replace any weak hardware with stronger ones that can handle your cabinet's weight.
Adding support brackets can help sagging cabinets right away. Put these brackets between cabinets and walls at key points. Choose brackets that can handle your specific load.
Misaligned cabinet doors are both functional and aesthetic problems. These issues usually come from how the cabinets are placed or hinge problems. Finding the cause helps fix the problem.
First, check if the cabinets are level and plumb. Misaligned cabinets cause door problems that can't be fixed with hinges alone. Use shims and screws to adjust the cabinets first.
Door gaps should be the same on all cabinet faces. Measure gaps at different points to find patterns. If gaps are consistent, it's a cabinet positioning issue. If they vary, it's a hinge problem.
Modern cabinet hinges can be adjusted in three dimensions for precise door alignment. Knowing how to use these adjustments is key to professional-quality door alignment. Most hinges have screws for height, lateral, and depth adjustments.
Height adjustments move doors up or down. Loosen the screws a bit and slide the hinge to the right spot. Then, tighten the screws while keeping the door in place.
Lateral adjustments move doors left or right. Turn the lateral adjustment screw to get the right spacing. Make small changes and check the door often.
Aligning face frames ensures consistent reveals and smooth door operation. Misaligned face frames cause uneven gaps and sticking doors. Professional techniques can fix these issues.
Use a straight edge to check face frame alignment across cabinets. Find high and low spots that need adjustment. Shimming or hardware changes can fix these issues.
Adjust cabinet connections for perfect face alignment between units. Loosen bolts a bit and move cabinets as needed. Always support cabinet weight during adjustments for safety.
Refine door reveals after aligning face frames. Even reveals show professional installation. Use hinge adjustments to fine-tune these measurements in your project.
Your DIY cabinet hanging project is a big win for your home. This guide breaks down a tough task into easy steps. You'll get results that look like they were done by pros.
Getting your kitchen cabinets right takes careful planning and doing. Every step, from measuring to adjusting, is important. This way, your cabinets will stay in place, level, and look great.
Using good tools and techniques makes a big difference. Your new cabinets will last a long time and look good. Plus, you'll be ready for more DIY projects in the future.
Don't rush when putting in your cabinets. Double-check your measurements and make sure everything is aligned. This careful work saves you from headaches later.
Finishing your cabinet project shows that DIY can be just as good as hiring someone. You'll save money that you can use for other home upgrades. And, you'll feel proud of what you've accomplished.
You'll need a stud finder, a 4-foot level, and a drill with bits. Also, a circular saw, measuring tape, safety glasses, and work gloves are essential. Don't forget cabinet screws, wall anchors, shims, and a cabinet lift or helper for heavy units. Quality tools are key for accurate and safe installation, say professional installers.
First, use an electronic stud finder on your wall. Then, mark the stud centerlines with a pencil. Use a small finish nail or the knock test to check your marks. Professional installers suggest finding at least two studs and measuring 16 or 24 inches to locate more studs.
Always start with upper cabinets. This makes it easier to access mounting points and see your work area. It also prevents damage to base cabinets. Plus, upper cabinets help you place base cabinets correctly.
Use scribing to mark cabinet backs for trimming. Install filler strips to cover gaps. For alignment, use shims. Professional installers might use a compass or scribe tool for precise fitting.
Find the highest floor point with a long level. Mount base cabinets there first. Use adjustable legs, shims, or wedges to level others. Check with a level often and adjust slowly for perfect alignment.
Upper cabinets can hold 600-800 pounds total, including contents. This depends on the cabinet, wall, and hardware quality. Spread the weight evenly and don't overload shelves.
Always wear safety glasses and gloves. Use proper lifting techniques or lifts for heavy units. Ensure good lighting and have a helper. Keep your area organized to avoid accidents.
Align cabinet faces with clamps, then drill pilot holes. Use bolts or screws to join units, keeping faces flush. Professional installers suggest connecting cabinets before attaching to walls for easier adjustments.
Adjust door hinges by loosening screws, then reposition and retighten. For ongoing issues, check if the cabinet boxes are level. Door problems often come from cabinet positioning.
Mark the highest floor point and your desired cabinet height on the wall. Use a laser or water level to create a level line around the room. This ensures cabinets are at consistent heights.
Use 2.5 to 3-inch screws or lag bolts for wood studs. For metal studs, choose metal stud screws. Fasteners should penetrate at least 1.5 inches into the stud. Professional installers might use washer-head screws for better grip.
Mount cabinets securely to wall studs with the right fasteners. Avoid overloading shelves and add support for heavy items. Regularly check and maintain mounting hardware to catch issues early.


Share:
Secure Countertops to Cabinets: A Step-by-Step Guide
Kitchen Cabinets: How Long They Last and What Affects It