
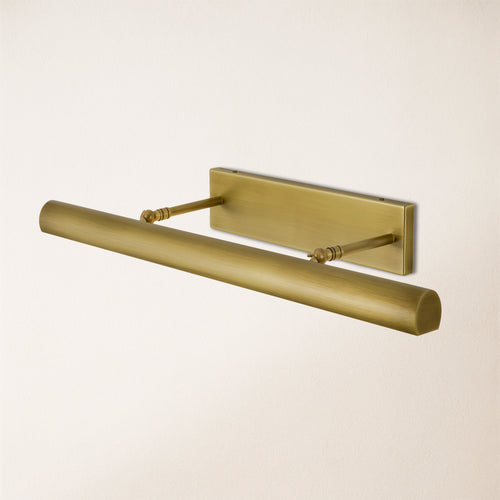


Lighting is the jewelry of the home. It has the power to transform a stark, cold hallway into a welcoming passage or turn a plain bedroom into a cozy sanctuary. Among the most versatile lighting options available today is the wall sconce. Whether you are looking to frame a bathroom mirror, add reading light above a bedside table, or illuminate a dark corridor, learning how to install a wall sconce light fixture is a valuable DIY skill that can instantly elevate your interior design.

At Houlte, we believe that high-end design should be accessible and installable. In this comprehensive guide, we will walk you through everything you need to know—from ideal placement heights to the nitty-gritty of electrical connections—so you can install your new Houlte sconces with confidence.
Before You Begin: Choose Your Installation Method
The first step in your lighting journey is deciding which type of installation suits your home and skill level. Generally, wall sconces fall into two categories: Plug-in (Corded) and Hardwired.
- Plug-in/Corded Sconces: These are the easiest to install. They do not require you to cut into your drywall or manipulate electrical currents behind the wall. They simply mount to the surface and plug into an existing outlet. This is a perfect choice for renters or those who want a quick refresh without a major renovation.
- Hardwired Sconces: These offer a cleaner, seamless look with no visible cords. The fixture connects directly to the electrical supply in your walls. This method requires a bit more effort and safety consciousness but provides a permanent, professional finish.
Looking for versatility? Many Houlte wall sconces are designed to be convertible, giving you the freedom to choose either installation method.
Part 1: The Golden Rules of Placement
Before you drill a single hole, you must determine exactly where your fixture will live. Poor placement can make even the most beautiful light look awkward.
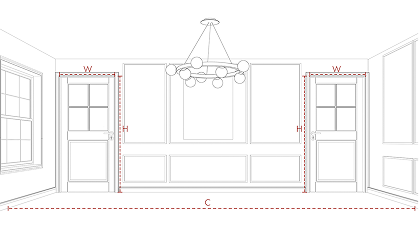
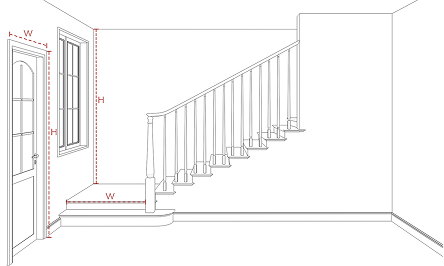
Height Guidelines The standard rule of thumb for general placement—such as in hallways, living rooms, or entryways—is to mount the center of the sconce approximately 60 to 72 inches from the floor. This keeps the light source at eye level for most people, reducing glare while maximizing illumination.
For bedside lighting, the rules change slightly. If you are replacing a table lamp with a wall sconce to save nightstand space, aim for 30 to 36 inches above the top of the mattress. This ensures the light is close enough for reading but high enough that you won't bump your head.
Spacing Tips If you are installing multiple sconces, particularly in a hallway or long room, spacing is key.
- Horizontal Spacing: Sconces are typically placed about 6 to 8 feet apart.
- Distance from Corners: Leave at least 6 inches of clearance from door frames or window edges to avoid a cluttered look.
Part 2: How to Install a Plug-in Wall Sconce (Beginner Friendly)
If you have chosen a plug-in model from the Houlte collection, you can have your new light up and running in under 20 minutes.
Tools Needed:
- Stud finder
- Pencil
- Drill with bits
- Screwdriver
- Level
Step 1: Mark and Find Studs Hold the sconce up to your desired height (remember the 60-72" rule). Use a pencil to mark the location of the mounting holes. Use a stud finder to check if there is a wood stud behind the drywall. If you hit a stud, you get maximum security. If not, don't worry—wall anchors work perfectly.
Step 2: Drill Pilot Holes If you are drilling into a stud, drill a small pilot hole to make screwing easier. If you are drilling into drywall, drill a hole sized according to the wall anchors provided with your Houlte fixture, then gently tap the anchors in until they are flush with the wall.
Step 3: Mount the Bracket Place the mounting bracket over your holes/anchors. Using a screwdriver or your drill, secure the bracket tightly to the wall. Use a level to ensure it is perfectly straight before fully tightening.
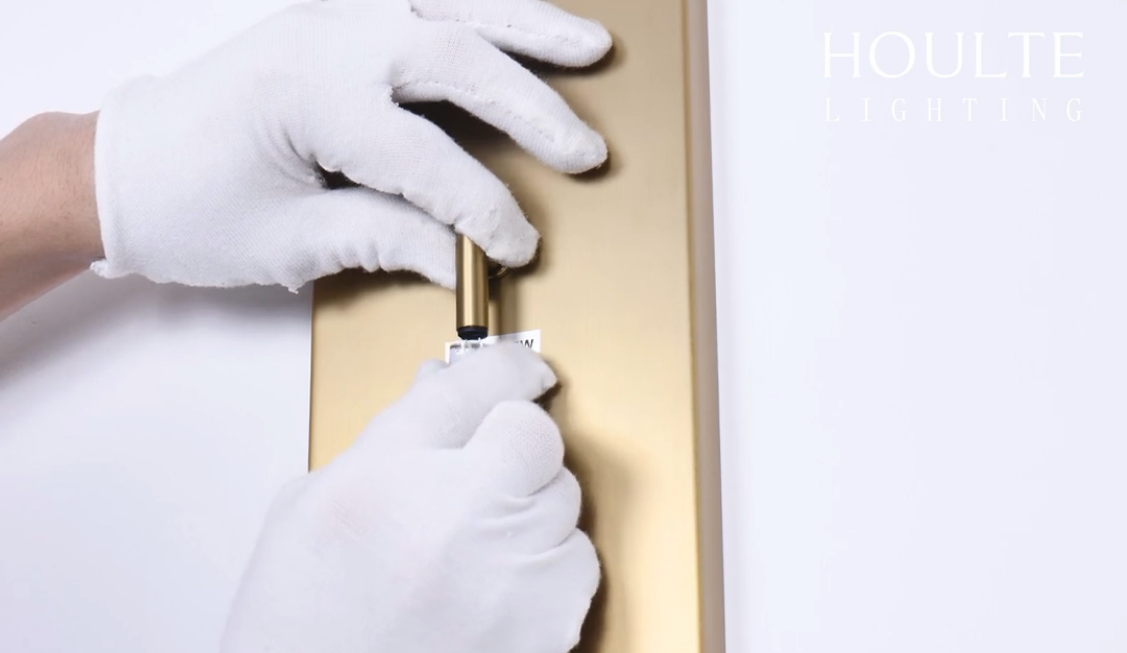
Step 4: Attach the Sconce Align your Houlte sconce with the mounting bracket. Secure it using the provided decorative nuts or screws.
Step 5: Power Up Screw in your lightbulb, plug the cord into the nearest outlet, and flip the switch on the cord. You are done!
Part 3: How to Install a Hardwired Wall Sconce (Intermediate)
Hardwiring provides that cordless, high-end hotel look. If you are comfortable with basic electrical work, follow these steps. If you are unsure, always hire a licensed electrician.
Safety Warning: Always turn off the power at the circuit breaker box before starting any electrical work. Verify the power is off using a non-contact voltage tester.
Tools Needed:
- Voltage tester
- Wire strippers/cutters
- Drywall saw
- Electrical tape and wire nuts
- Drill and screwdriver
- Old work electrical box (if adding a new location)
Step 1: Mark and Cut Holes If there is no existing electrical box, you will need to cut a hole in the drywall to install an "old work" box (also known as a cut-in box). Trace the outline of the box on the wall at your chosen height. Carefully cut the drywall using a drywall saw.
Step 2: Run the Wires This is often the trickiest part. You need to run a 14/2 NM cable (or appropriate gauge for your circuit) from a power source (like a nearby outlet or switch) to your new hole. This may require fishing wire through the wall cavity.
Step 3: Install the Box Pull your power cable through the back of the electrical box. Insert the box into the wall and tighten the screws. The "wings" on the box will flip up and grip the back of the drywall, holding it firmly in place.
Step 4: Make the Connections Now, connect the wires from your Houlte sconce to the wires in the wall box.
- Ground: Connect the bare copper or green wire from the wall to the green screw on the bracket or the sconce’s bare/green wire.
- Neutral: Connect the white wire from the wall to the white wire on the fixture.
- Hot: Connect the black wire from the wall to the black wire on the fixture.
Twist the wires together using wire nuts and wrap the connections with electrical tape for extra safety. Tuck the wires neatly into the box.
Step 5: Mount and Test Secure the fixture canopy to the mounting bracket. Install your bulb and turn the power back on at the breaker. Flip the switch to test your new light.
Pro Tip: The Wireless Shortcut If you love the hardwired look but hate the idea of running wires to a new wall switch, consider using a wireless switch kit. You can hardwire the sconce to constant power and install a remote-controlled receiver in the light fixture box. Then, simply mount the wireless switch anywhere on the wall—no extra drilling required!
Houlte Wall Sconce installation video
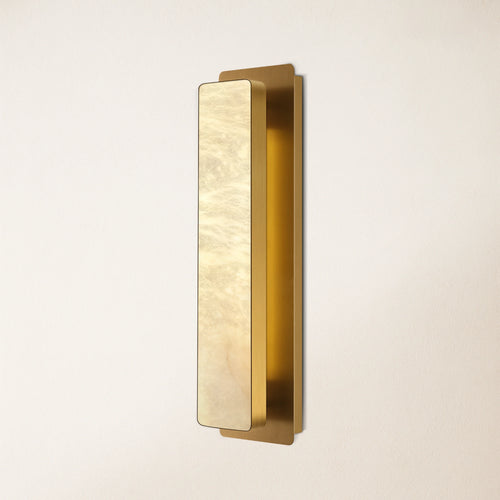
Trany Vertical Wall Sconce - Installation Instruction:
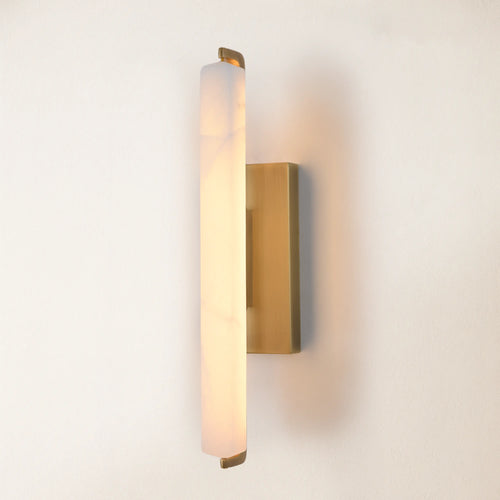
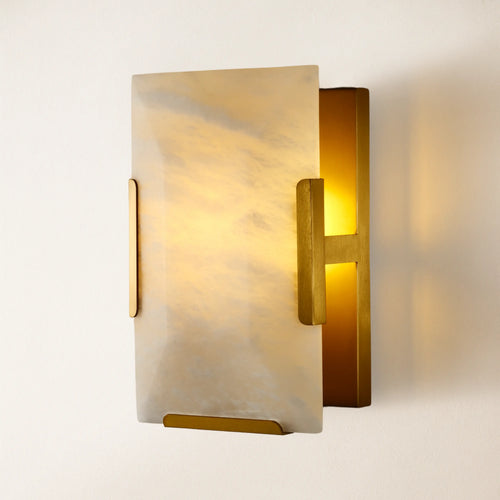
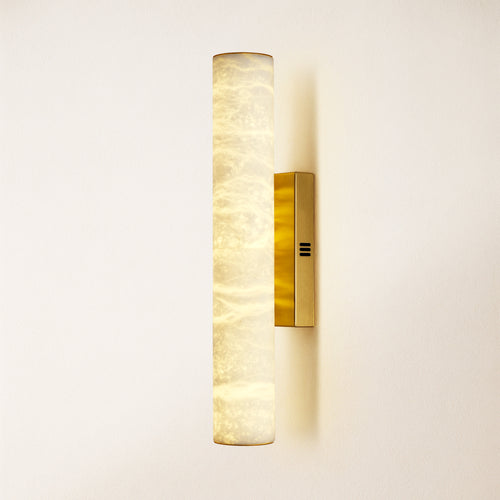
Axis Alabaster Wall Sconce - A Stunning Piece for Your Home:
Why Choose Houlte Sconces?
When you are investing time to learn how to install a wall sconce light fixture, the fixture itself should be worth the effort. Houlte wall sconces are engineered for easy installation and designed for timeless appeal. Whether you prefer the industrial edge of matte black metal or the soft glow of opal glass, our collection ensures that once the hard work is done, your home shines brighter than ever.
Share:
What is a Wall Sconce? A Comprehensive Guide to Illuminating Your Home in Style
How High to Hang Wall Sconces Next to Bed: The Ultimate Placement Guide