


Alvar 61″ Oak 6-Drawer Chest(Set of 2)


Alvar Arched 61" Oak Sideboard with Drawers(Set of 2)

Alvar Arched 94.5″ Oak Modular Media Console(Set of 3)

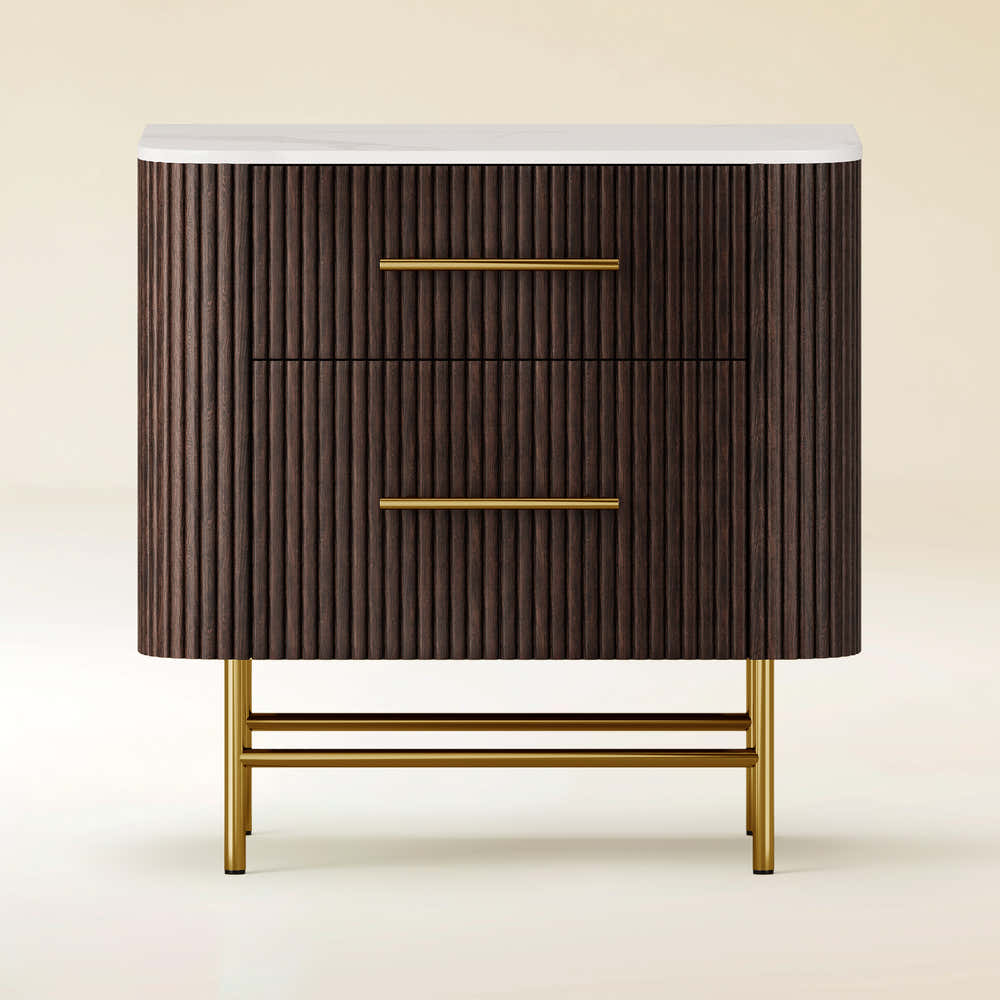
Charlie Sintered Stone Nightstand 26" W


Ethereal Crystal Radiance Round Chandelier 30"D


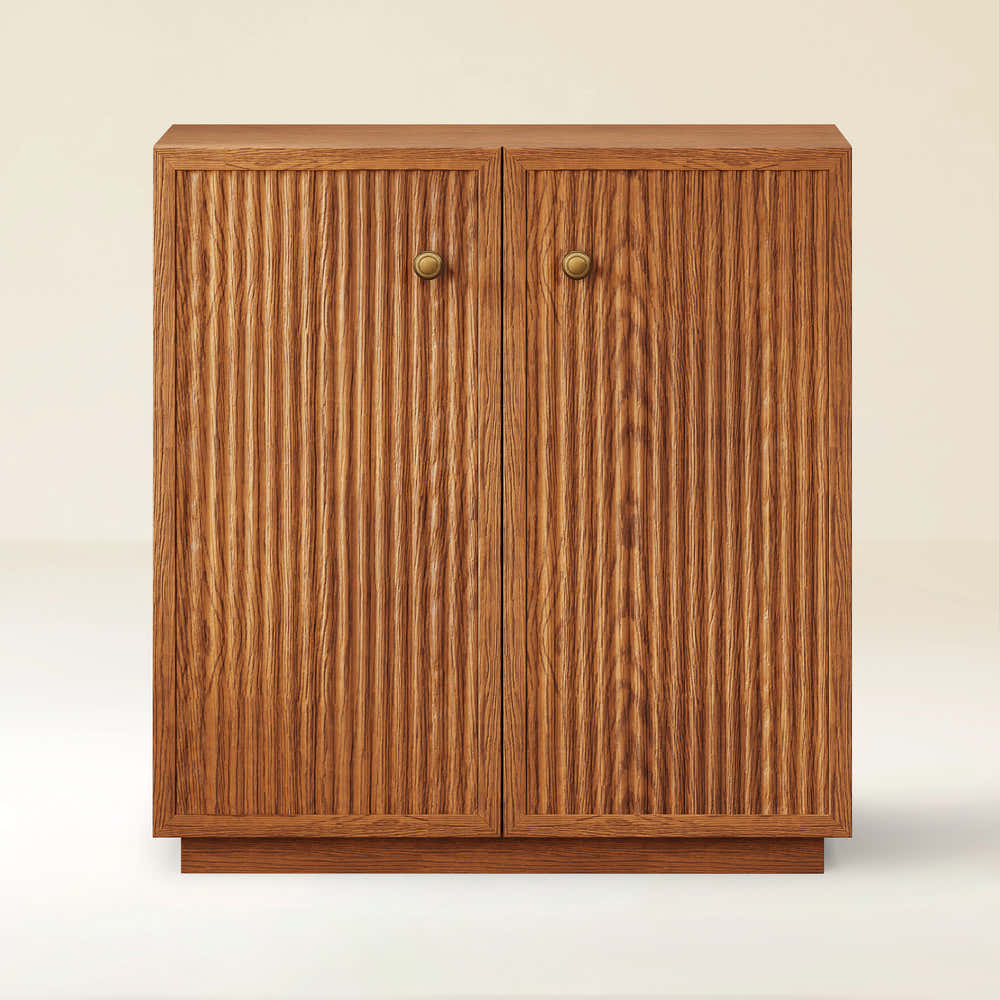
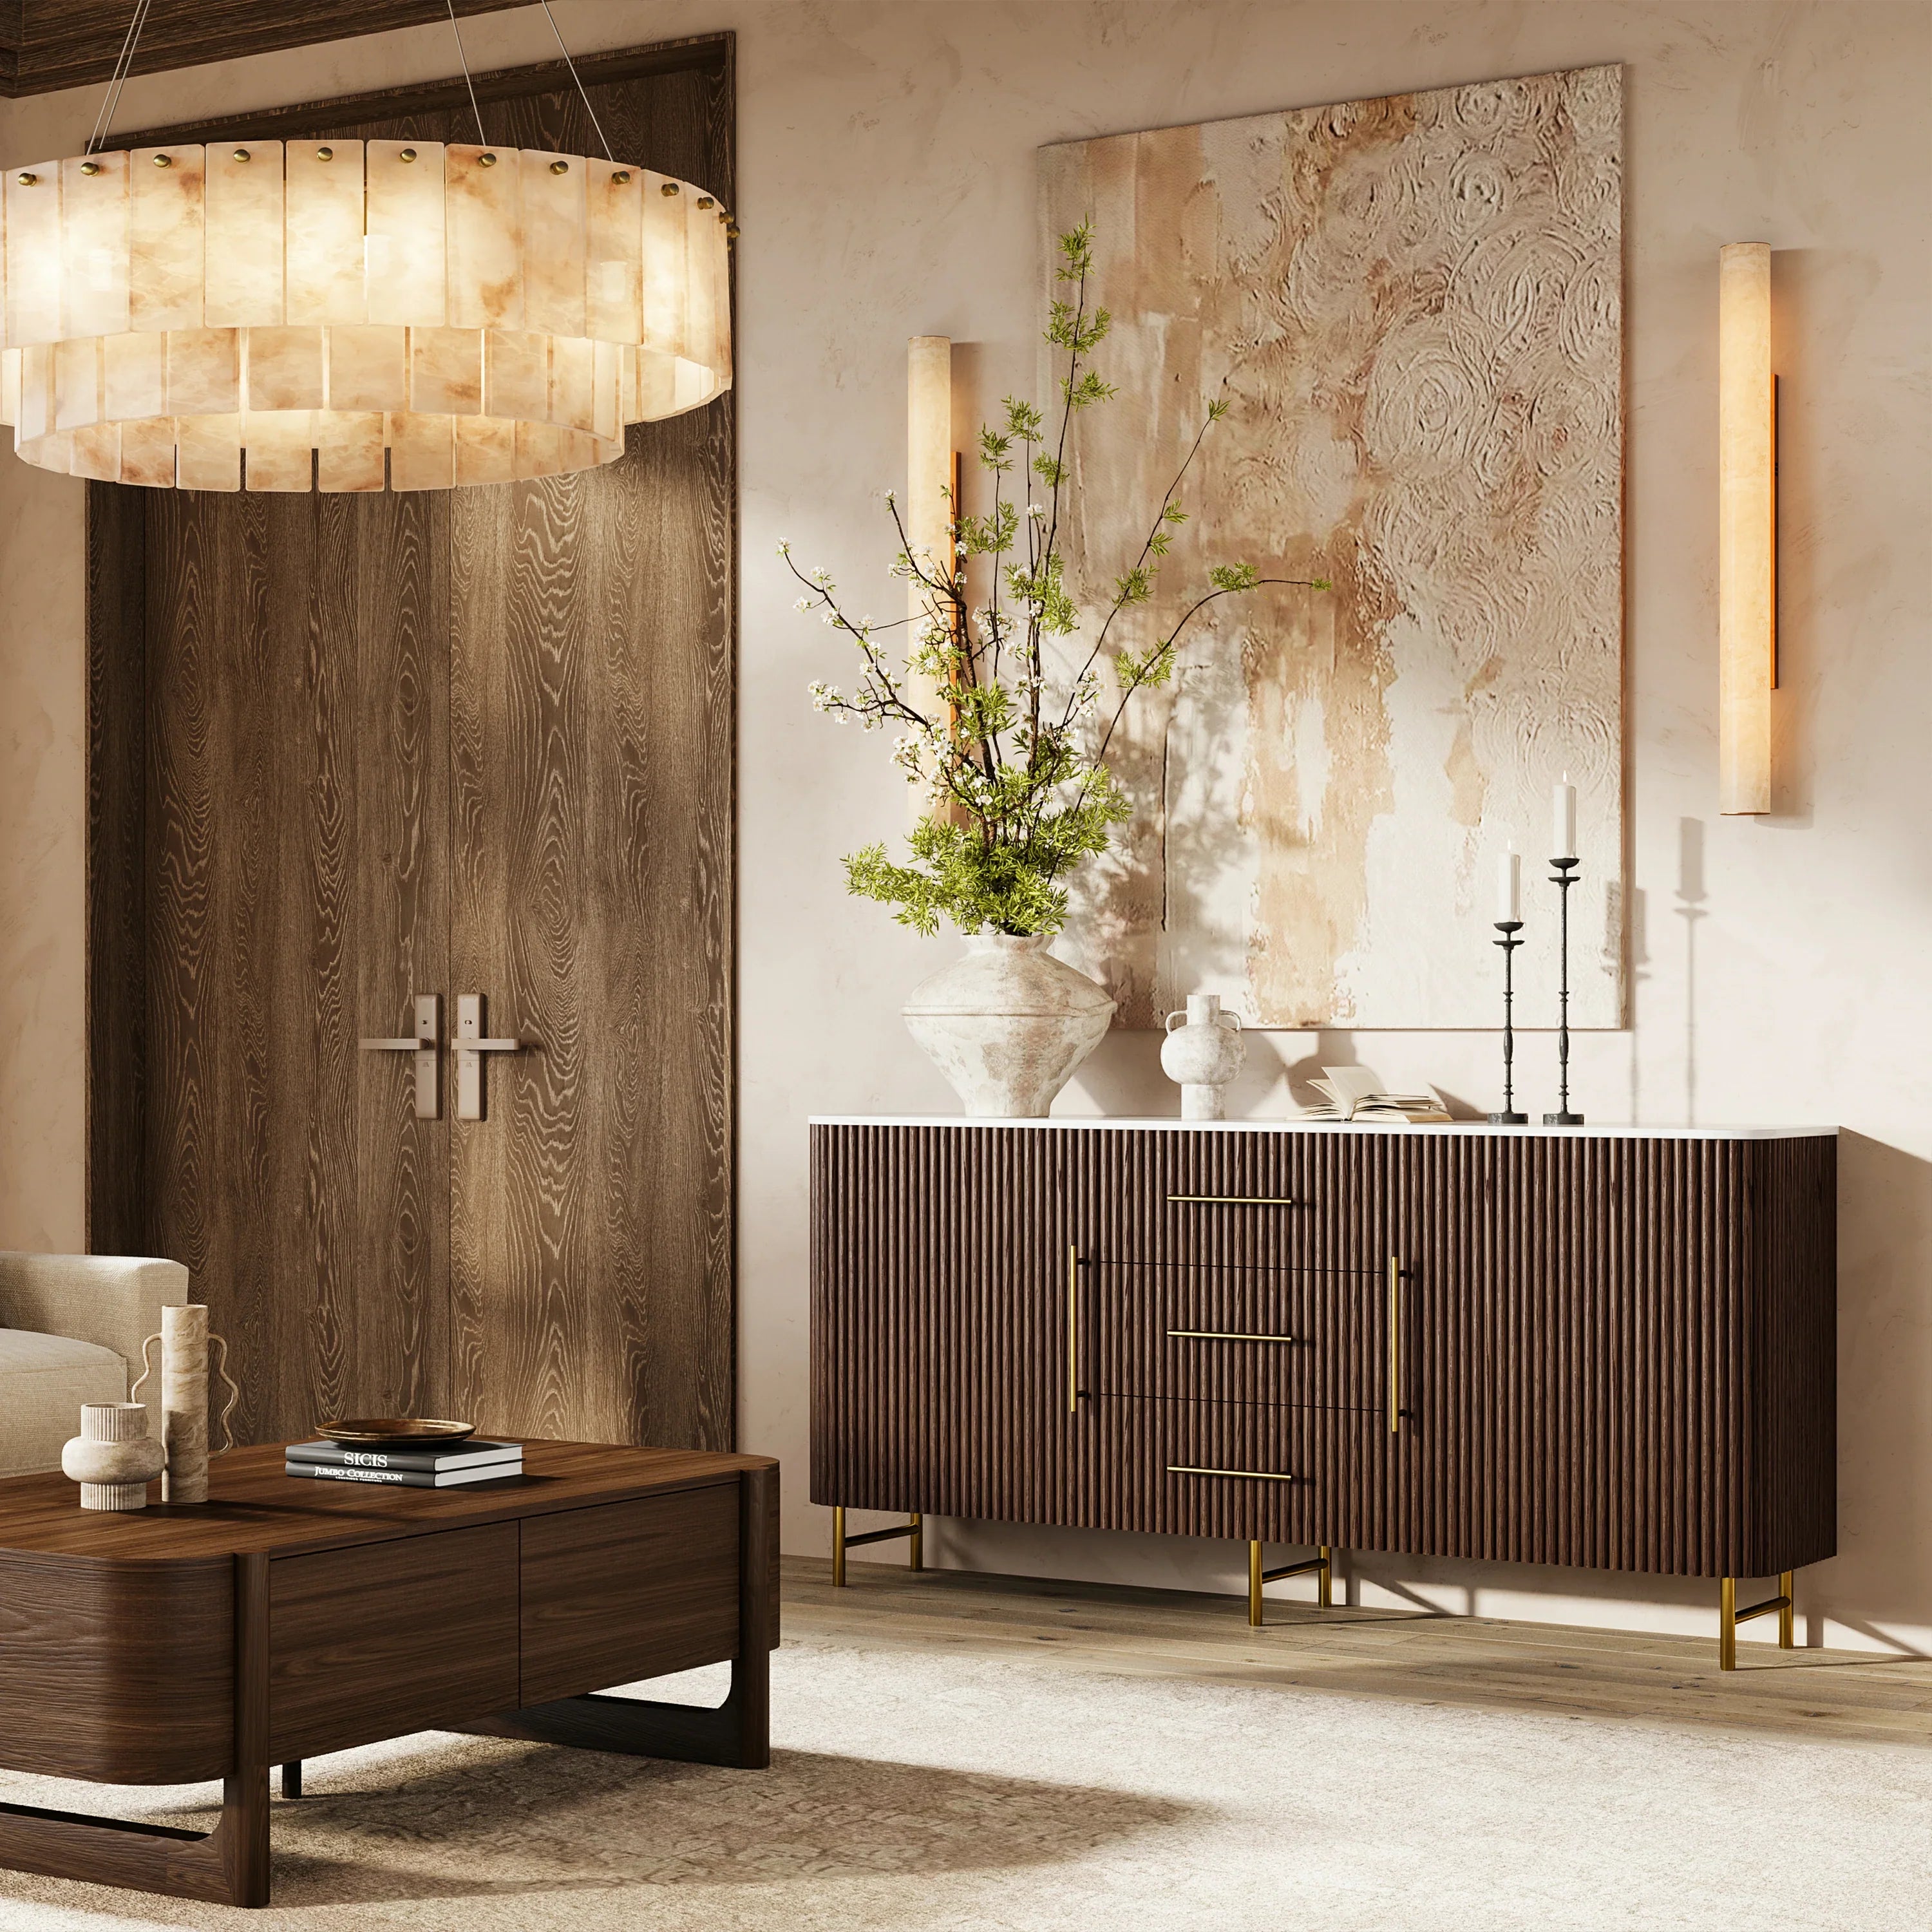
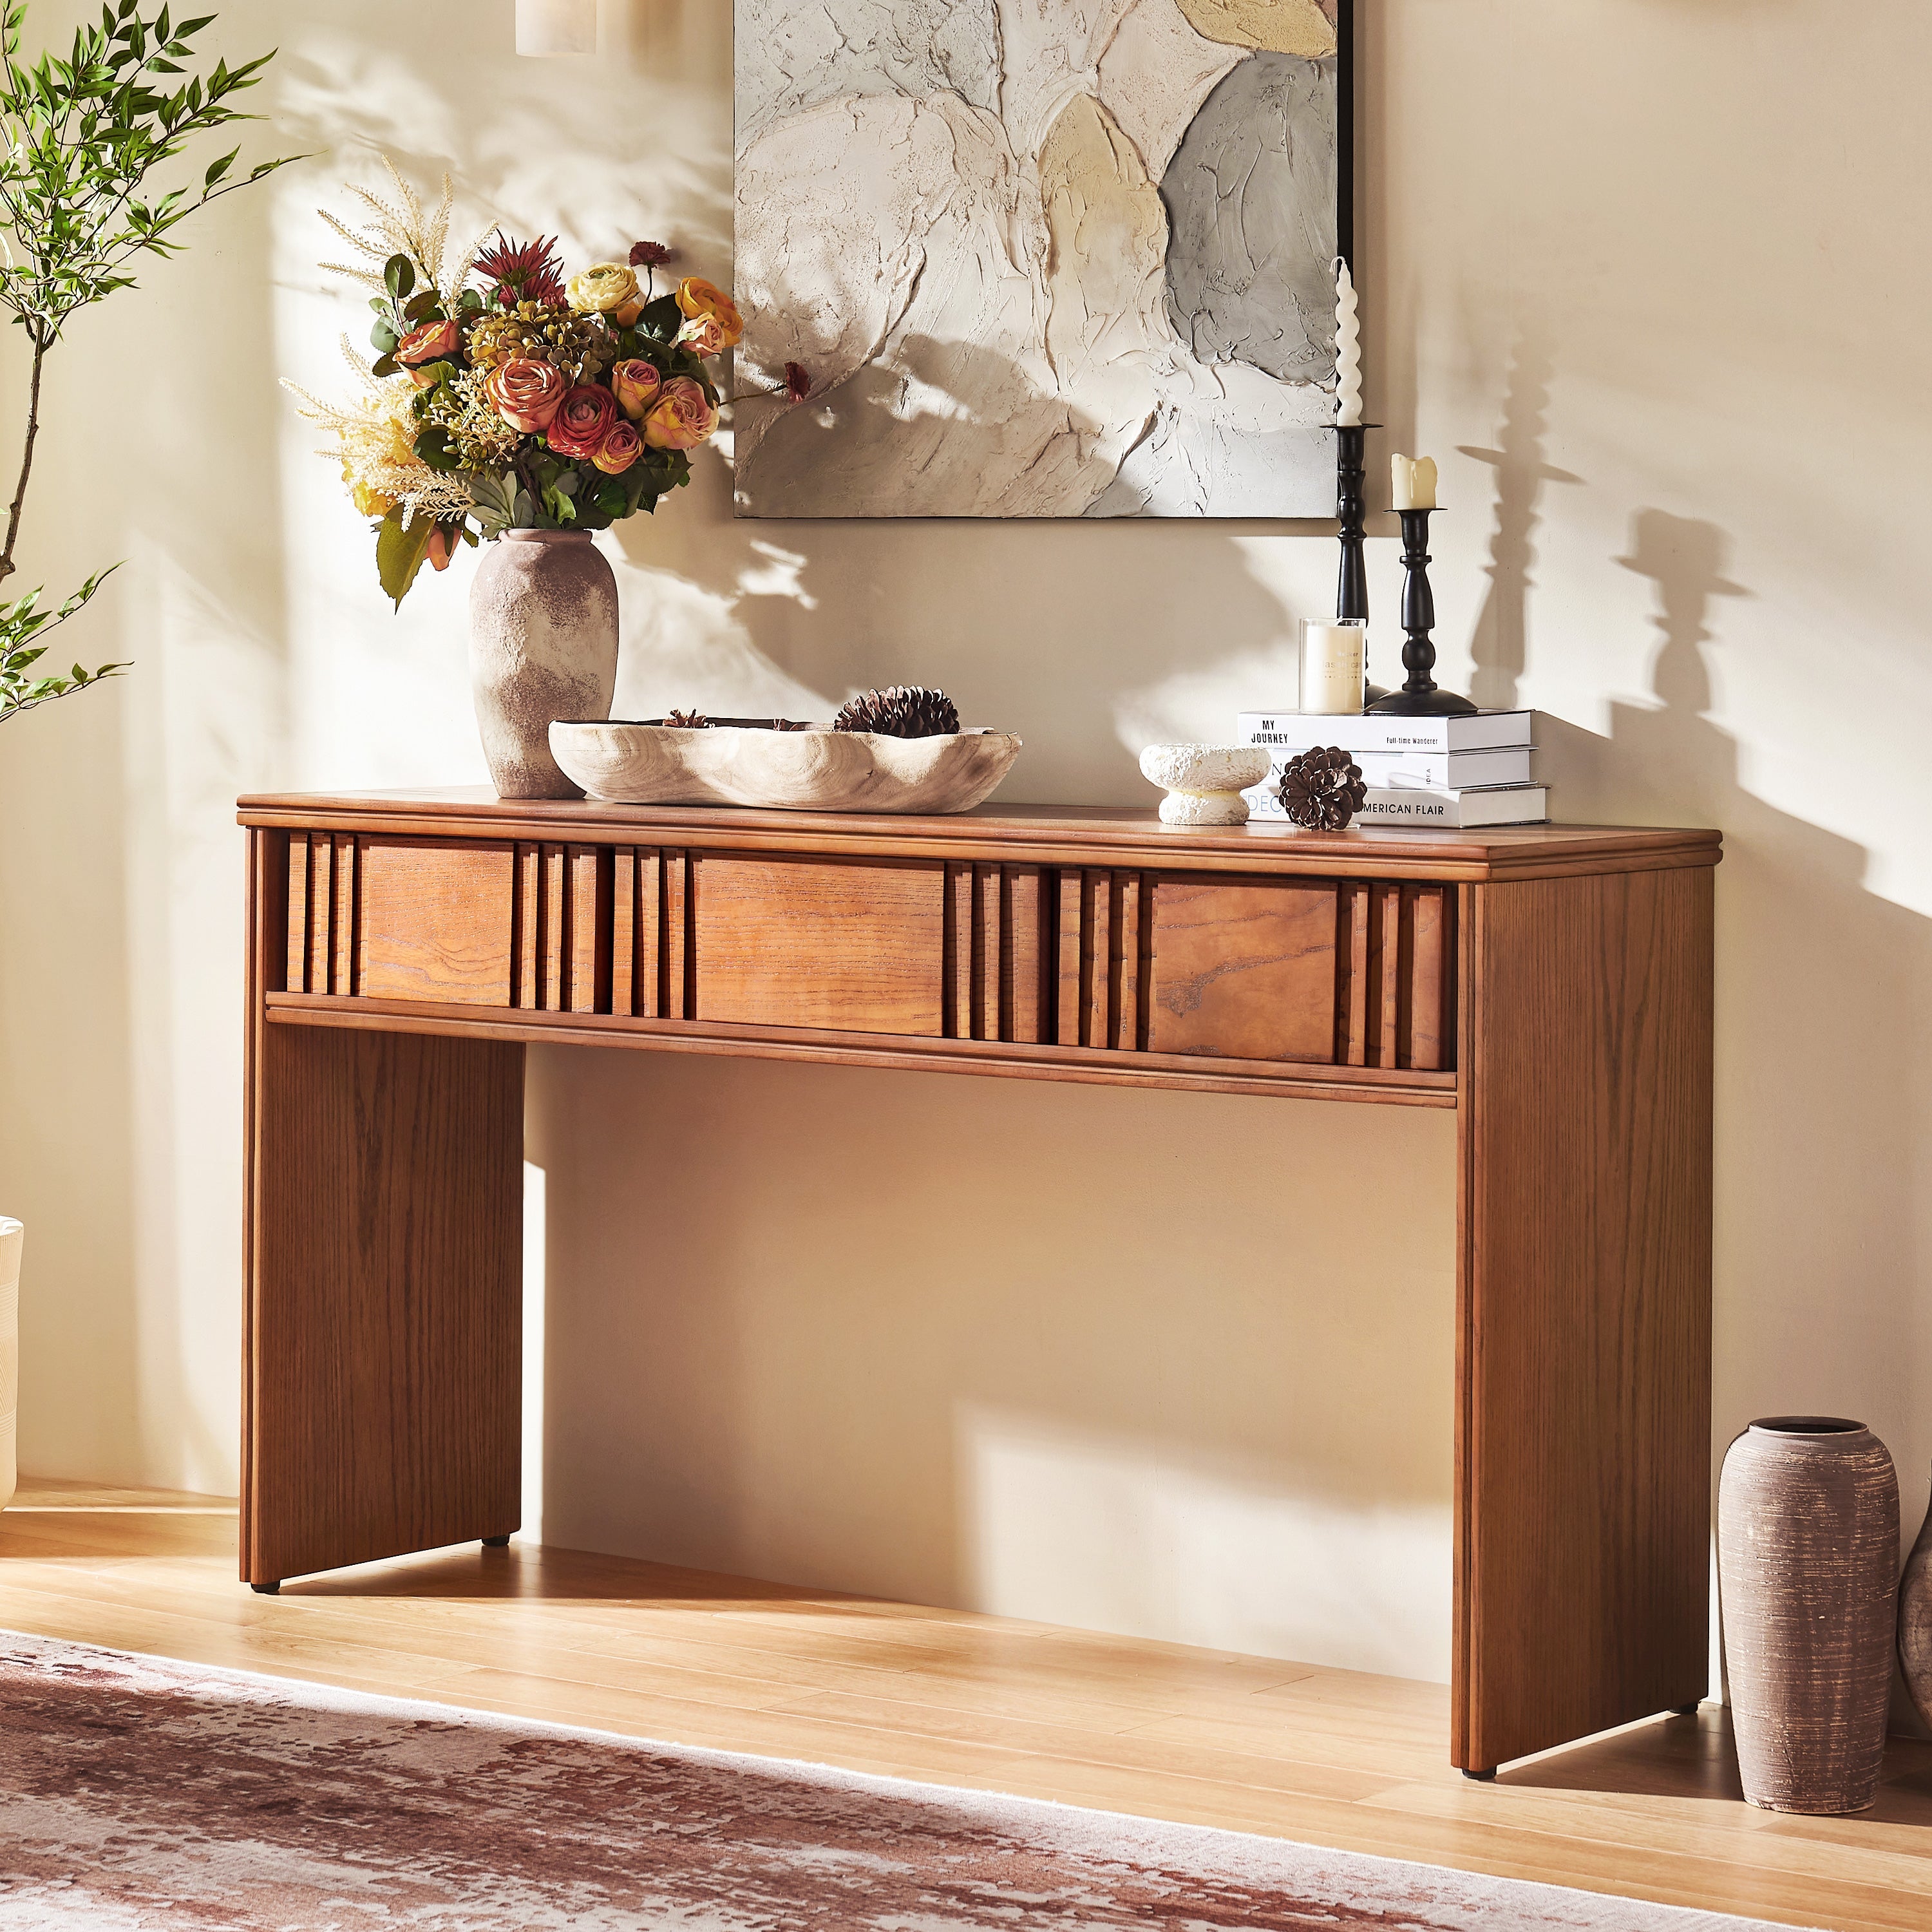
Ewan 63" Oak Slatted Sideboard Buffet Cabinet
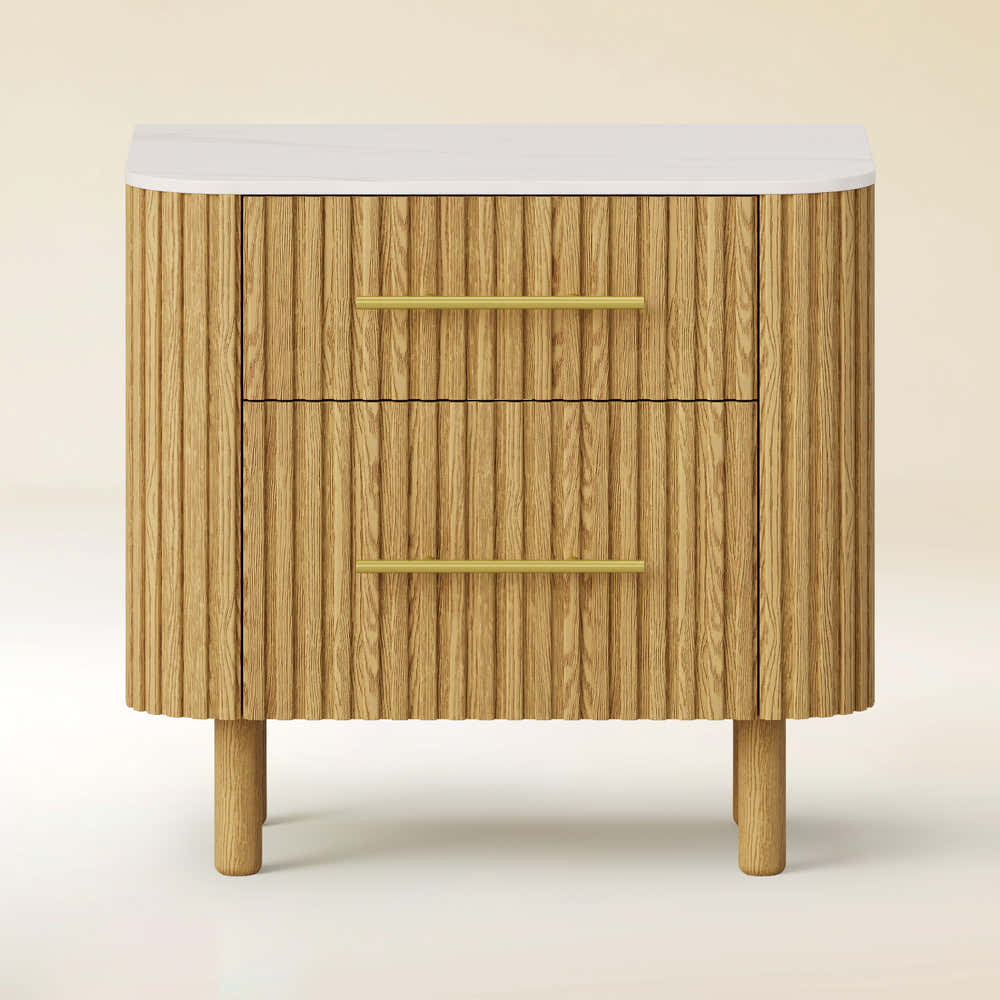
Ewan Sintered Stone Nightstand 26"W

Holt 63″ Solid Oak Console(Set of 2)

Holt 95″ Solid Oak Console(Set of 3)

Isla Oak Sintered Stone Rectangle Coffee Table 47"

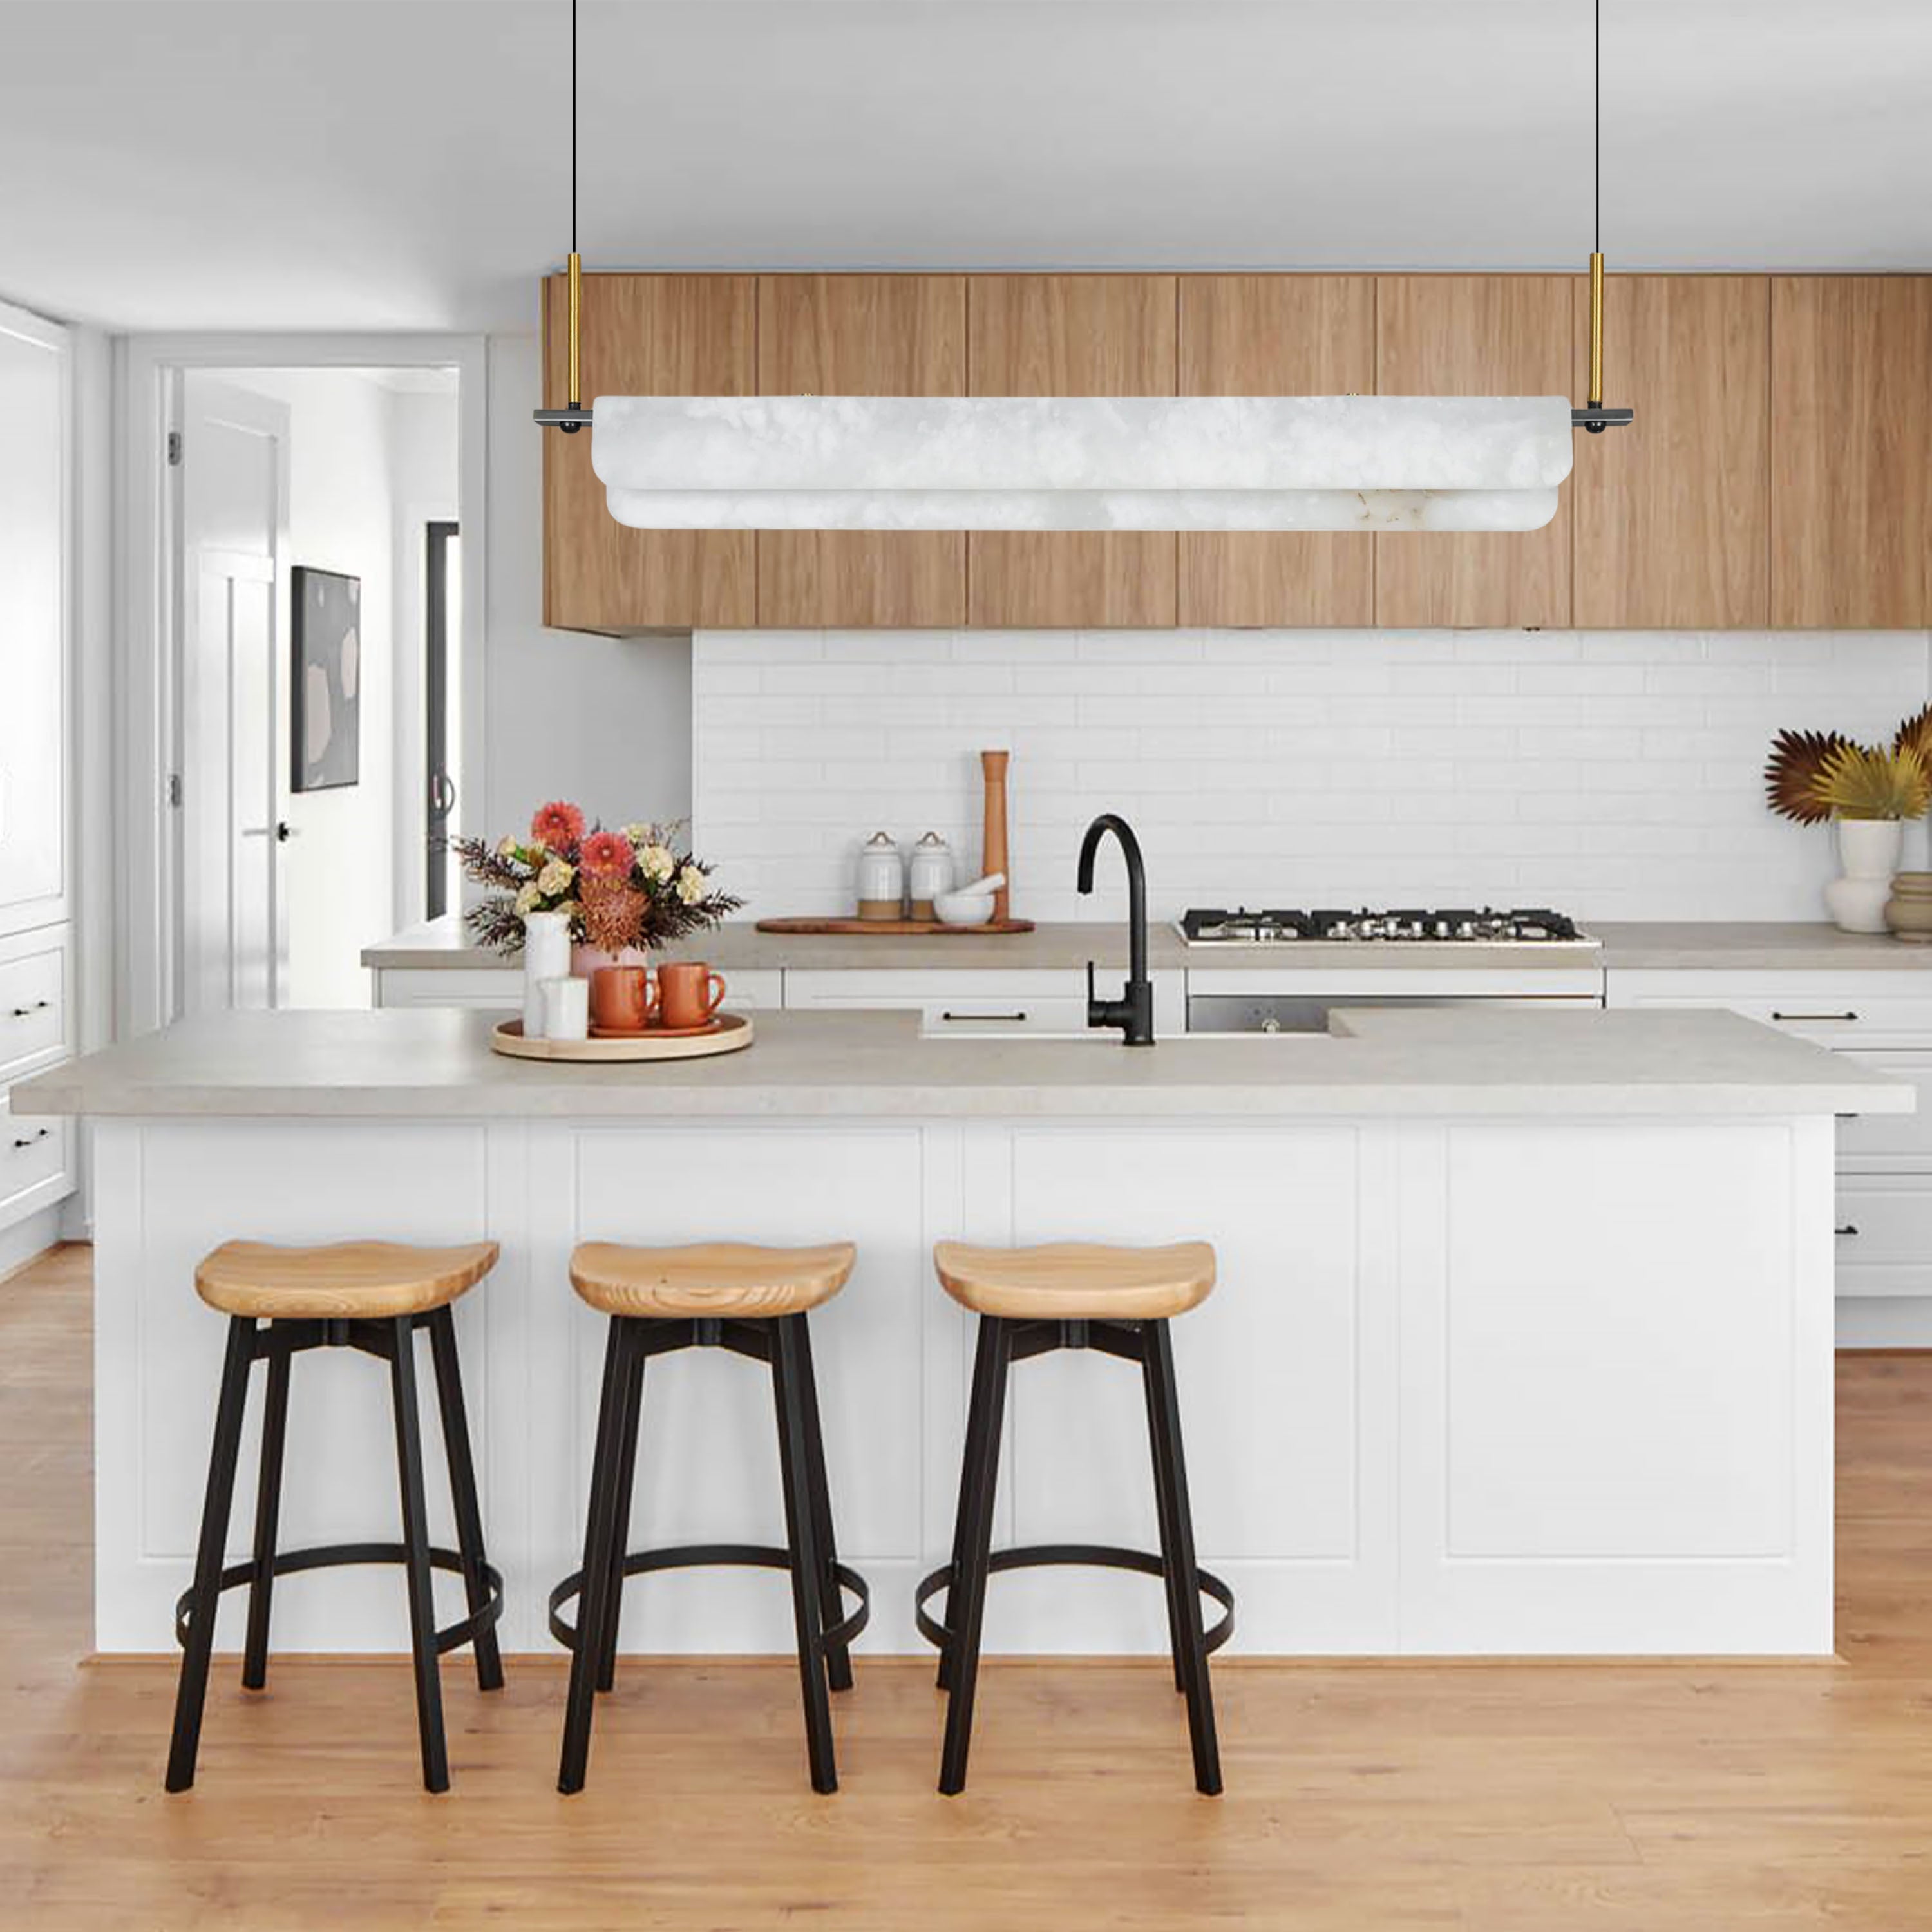
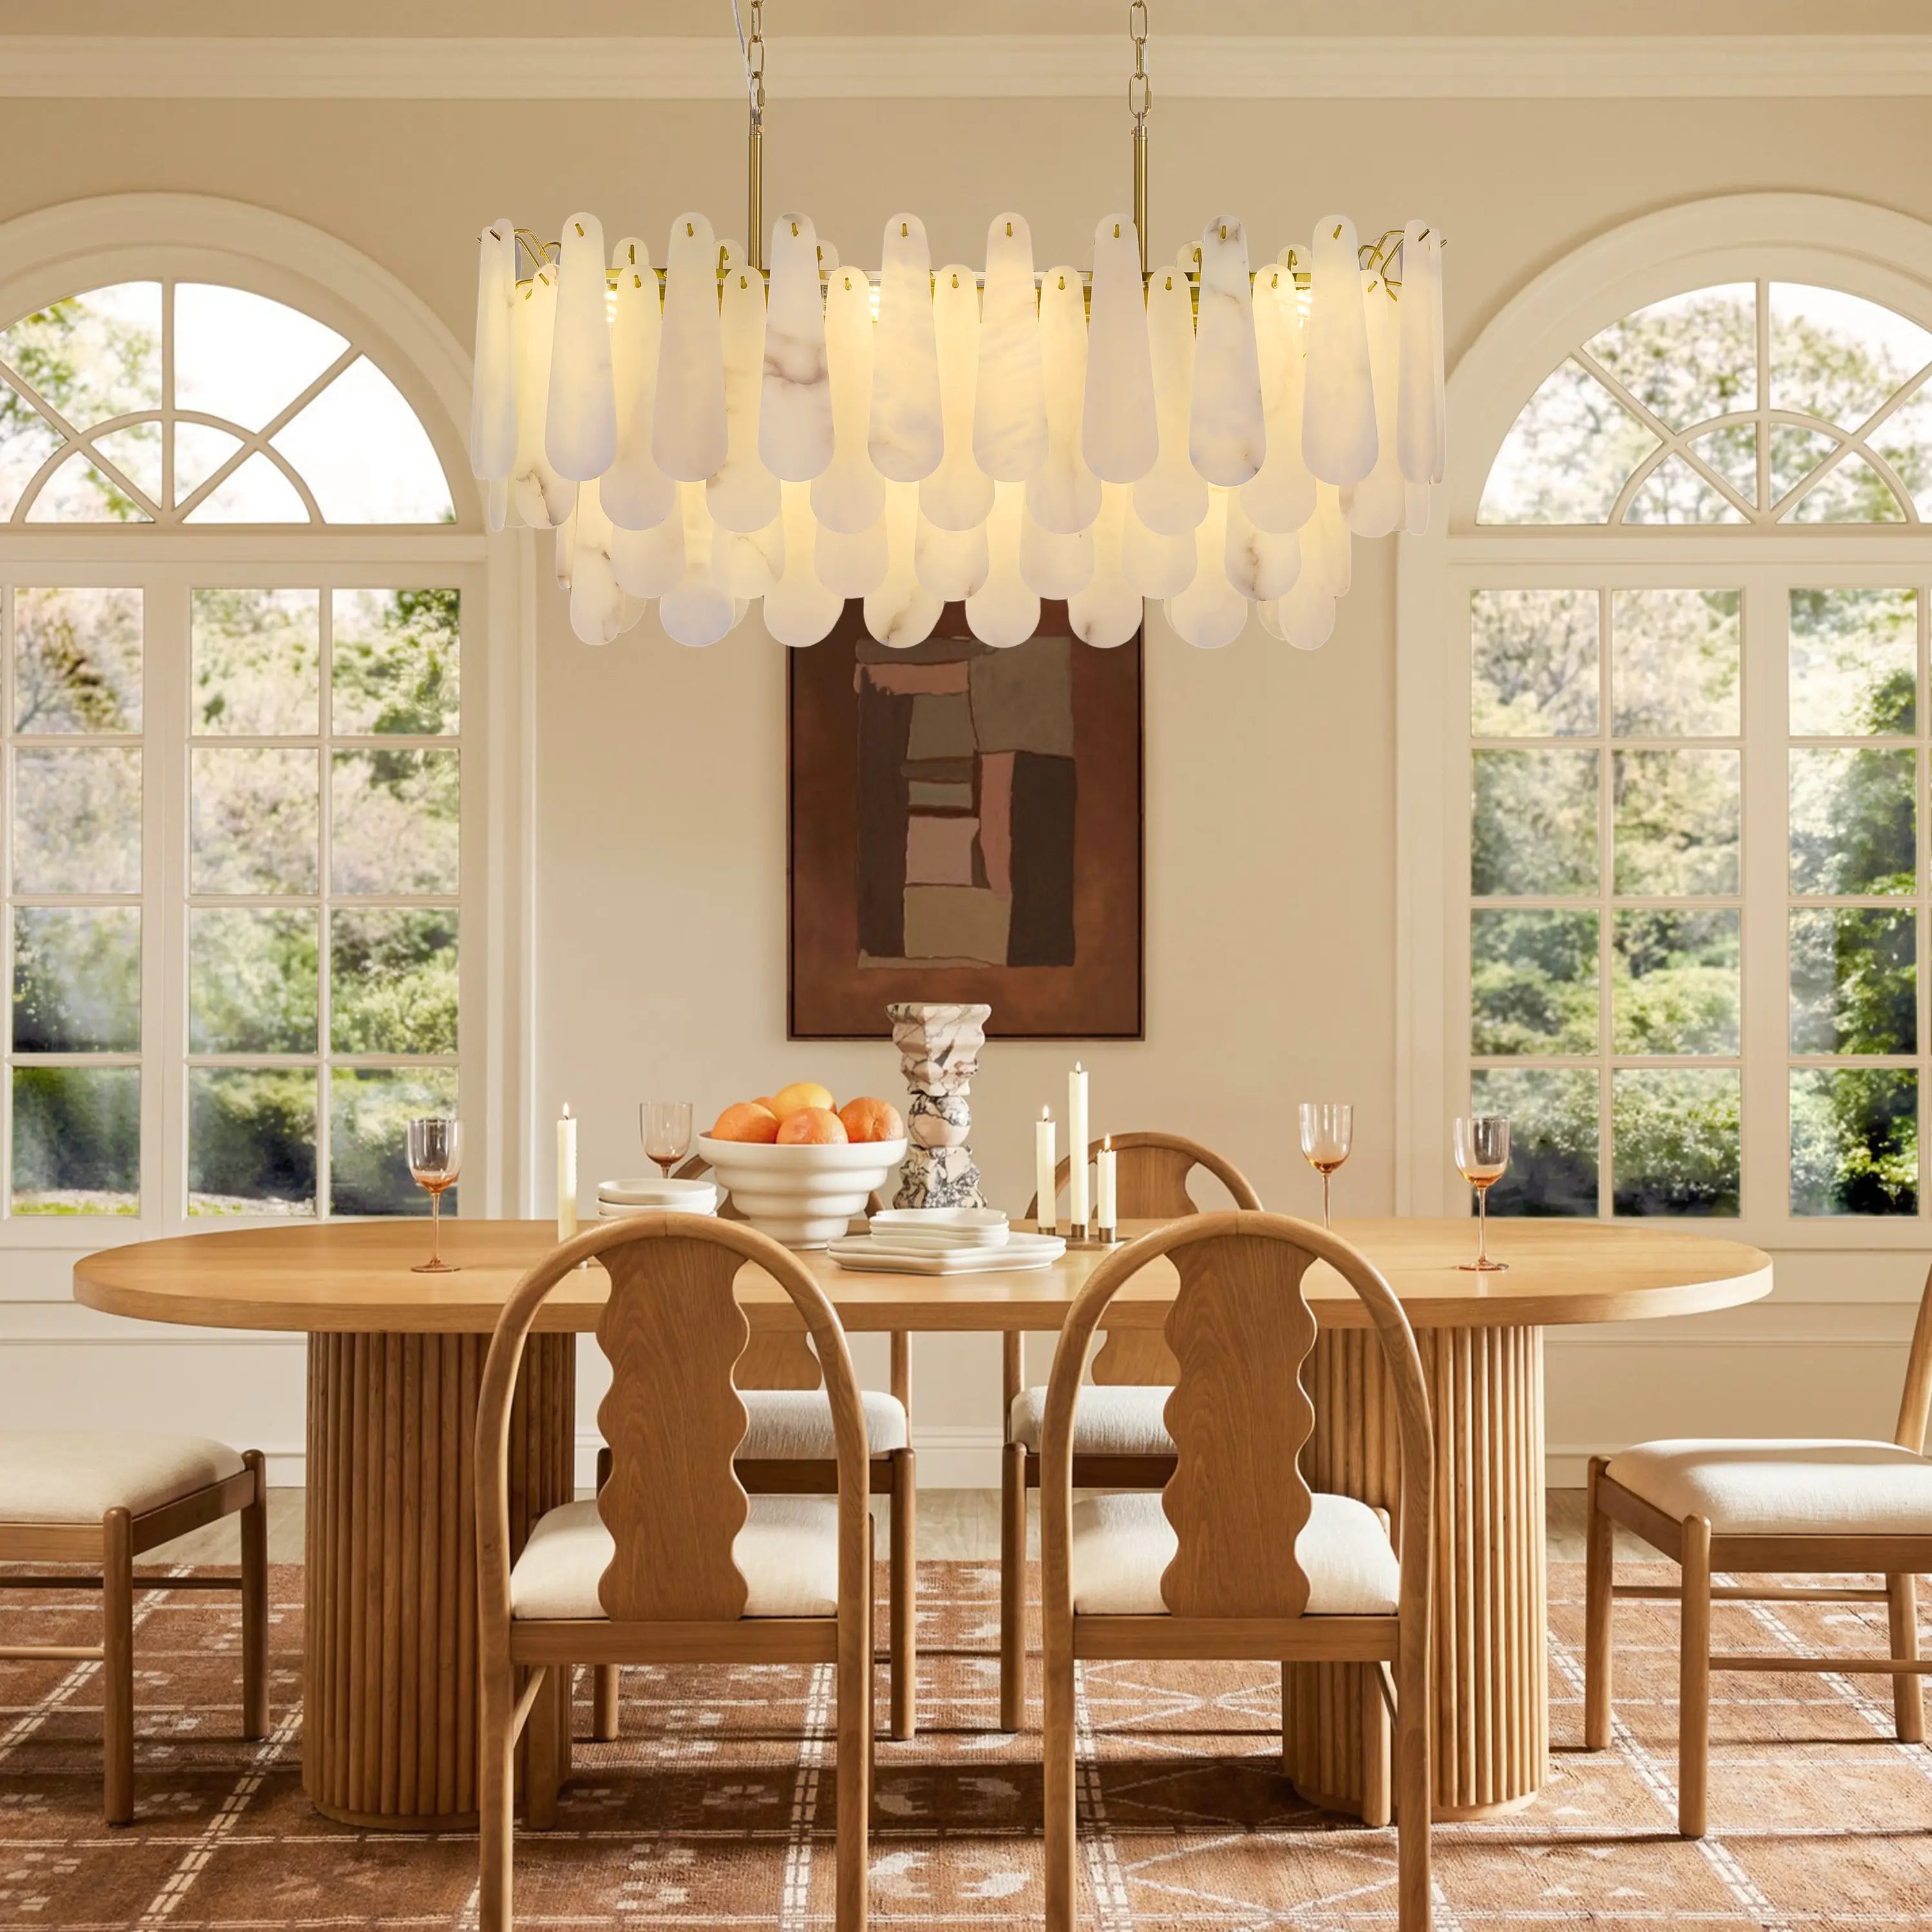
Moira Alabaster Round Chandelier 24"D

Moira Alabaster Round Chandelier 32"D

Silas Extendable TV Stand 80" to 110"

Stellara Crystal Strip Round Chandelier 24"D

Sylvia Palladian Alabaster Wall Sconce 20"H

Alvar Arched 95″ Oak Media Console(Set of 3)

Ewan Oak Extendable Media Console 79" to 110"

Holt 126″ Solid Oak Console(Set of 4)

OpalEdge Alabaster Wall Sconce 14"H

FSC FCOC47059 . FSC is dedicated to the promotion of responsible forest management
worldwide. By selecting this product, you help take care of the woorld's forests

UL-certified for indoor drying environments not directly exposed to excessive moisture or water;
Use in the United States and Canada.

Certified to Dry ETL electrical standard: suitable for use indoors in dry locations not directly exposed to excessive moisture and water
Use in the United States

CE-certified drying equipment compliant with electrical standards: Suitable for indoor drying environments not directly exposed to excessive moisture or water;
Tested for use in Europe, the UK, and other regions.

Ready to use out of the box; minimal installation may be required (e.g., handles).

Main structure is pre-built; minor components require attachment (e.g., legs).

Assembly required; multiple parts must be assembled before use.
Our furniture is built with a combination of core boards, real wood veneers, and selected solid wood parts. Each material is used for a different purpose—structure, surface appearance, or visible strength—so the final piece feels balanced in performance, finish, and cost.
Core boards form the internal foundation of the furniture. They provide structure, stability, and efficiency across large surfaces and cabinet bodies.

Stable structural board

Smooth and consistent

Functional internal board
Selected solid wood parts are used where visible strength, tactile quality, and structural integrity matter most—such as legs, frames, trim, and exposed support details.

Durable and classic

Light and versatile

Premium and elevated
There is a specific moment of magic in interior design. It’s not when you buy the fixture, or even when you unbox it. It’s that split second when you flip the switch for the first time, and your room is suddenly bathed in a new, beautiful light.
At Houlte, we design our chandeliers—from our heavy alabaster statement pieces to our intricate crystal collections—to be the centerpiece of your home. But we know that for many homeowners, the gap between "unboxing" and "flipping the switch" can feel intimidating.
Installing a chandelier is a manageable DIY project if you have the right tools and a little patience. Whether you are replacing an old fixture or installing a brand-new Houlte masterpiece, this guide will walk you through the process safely and confidently.
Before we begin: If you are uncomfortable working with electricity, have a complex ceiling (super high or vaulted), or if your home has old wiring (knob-and-tube), please hire a licensed electrician. Peace of mind is the ultimate luxury.
Don’t get stuck on a ladder realizing you are missing a screwdriver. Prepare your "toolkit" beforehand:

Walking over to the wall switch is not enough. Go to your home’s main circuit breaker panel. Find the switch that controls the room you are working in and flip it to OFF.
This is crucial. The junction box is the metal or plastic box in the ceiling that holds the wires.
Before we dive into the wiring details, it helps to see the process in action.
While every fixture is unique, the core principles of assembly and wiring remain consistent. Watch our installation guide for the Celestial Drop Multi-Tier Crystal Glass Chandelier below. This video perfectly demonstrates how to handle delicate components and secure the mounting bracket safely.
Before you lift the chandelier, determine how low it should hang. (Reference our guide on hanging heights!).
Your new chandelier comes with a metal mounting strap or bracket. Screw this securely into the junction box using the screws provided. Make sure it is tight—this holds the weight of your light!
Have your helper hold the chandelier up (or hang it from the hook on the mounting bracket if it has one) so you have both hands free. Match the wires from the ceiling to the wires on the fixture:
Ground to Ground: Wrap the Copper/Green wire from the fixture around the green screw on the mounting bracket, then connect it to the copper wire coming from the ceiling.
Neutral to Neutral: Connect the White fixture wire to the White ceiling wire using a wire nut. Twist until tight.
Live to Live: Connect the Black fixture wire to the Black ceiling wire using a wire nut.
Pro Tip: Give each connection a gentle tug to make sure the wires are locked in. Wrap the base of the wire nuts with electrical tape for extra security.
Gently fold the wires into the junction box. Ensure no wires are pinched. Slide the canopy up the chain/rod until it is flush against the ceiling. Tighten the decorative nuts or screws to hold it in place.
Never install the heavy glass or alabaster shades until the fixture is securely mounted.
Go back to your circuit breaker and flip the power back ON. Return to the room and flip the wall switch.

Step back and admire your work. You haven't just installed a metal object; you have transformed the atmosphere of your room.
At Houlte, we believe that the effort you put into your home reflects the love you have for the people inside it. Whether it is the intricate Celestial Drop or the modern Sawyer, your new chandelier is now a permanent part of your home’s story.
Still looking for the perfect fixture? If you are reading this before buying, explore our collection of easy-to-install, high-impact lighting designed to make your home feel complete.

Share:
The Ultimate Guide to Cleaning Every Type of Chandelier
5 Game-Changing Interior Design Tips That Will Transform Your Home